After the amazing response we got from our recent story on Date Movie and the stages of production, we figured we’d follow up with some more of the great work from the guys at Furious FX. As mentioned in that story the team also worked on Underworld: Evolution. So here now is a similar shot by shot break down on their work on a very different – much darker vfx film.
For Underworld: Evolution, Furious FX had a team of 13 people on the project, including 3 in production and 10 VFX artists. Executive Visual Effects Supervisor Dave Lingenfelser relates “we prefer to maintain a relatively small crew, so everyone needs to be a generalist to some degree, skilled in several areas. All of our compositors do their own roto, tracking, paint, morphing, etc. The 3D artists also multi-task, handling all modeling, texture, lighting, animation, and effects. We find this leaner approach to be a very productive way to handle projects since there really isn’t any wasted time.”
Underworld: Evolution provided the Furious team a very broad scope of work, ranging from very simple paint shots to very complex, multi-layerd 2D with miniatures, and CG elements added to live action. “The variety helped keep things fresh and interesting throughout,” Lingerfelser adds.
The team was initially awarded 27 shots for the first month or so. As they made progress,and the client liked their work, they picked up an additional 53 shots in the last month and a half. “This project went very smoothly,” Lingerfelser explains. “The 2-3 weeks near the end were the most intense as we finished shots already in-house while taking on new effects added during the film’s final mixing sessions.”
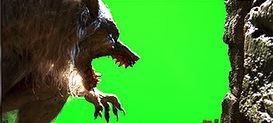
This shot was a two element composite where the werewolf was filmed on greenscreen and the background plate created as a live action miniature.
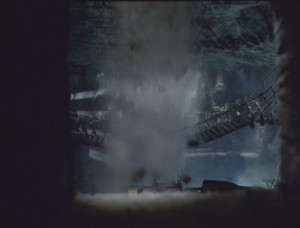
Once the two elements were combined in Shake, selective color and focus treatments helped increase the depth of field between the layers.
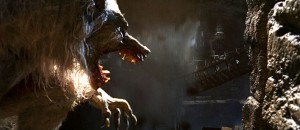
Overall camera shake was added to enhance the explosion.
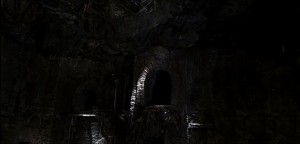
This shot started off with a still photograph for use as a background plate.
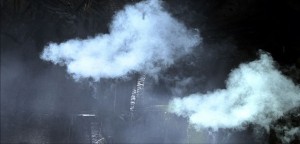
Multiple layers of practical smoke with varying movement, density, and size were composited into specific areas to further convey the crash. A miniature helicopter was added along with more practical smoke elements.
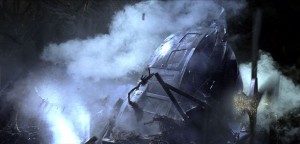
Maya and Renderman were used to animate and render a CG blade model provided by Luma Pictures which was added this to the helicopter. Practical spark elements were added to the hub of the copter blades, along with many layers of CG debris to help with the impact of the metal against the rope bridge.
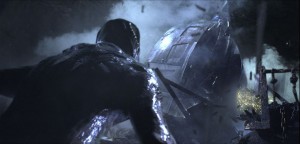
Finally, a greenscreen foreground element of Marcus reacting to the crash was composited, along with one last layer of smoke and camera shake to sell the massive impact.
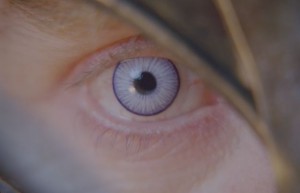
This is the opening shot of the film, and everyone involved knew it had to grab the audience right away. During the initial meeting for this effect, it was described as starting on a medium close-up view of a dead figure with a 180 push-in to his pupil. The shot would then travel all the way in before pulling out of another pupil consisting of 2 plates: a close up locked off camera and a medium close up which had part of the pull back built into it. A third plate of a village on fire was used as a reflection element in the eyes.
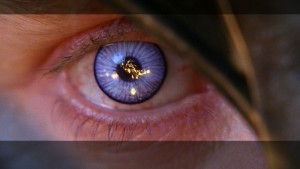
Once the different cameras were locked and moving as one, the crew at Furious FX played with the idea of distorting the village plate with a severe radial blur so the beginning felt more like streaks of light shooting into a black abyss, then becoming sharper during the camera move to reveal the character’s face. This initial look went over so well with the filmmakers that they decided to use the pullback portion alone and cut the 180 push-in idea altogether
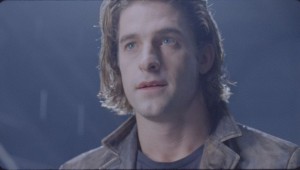
In this shot, they had to create a transition from Michael’s black hybrid eyes to his human eyes. This effect was achieved in Maya using a simulation of tiny particles running backwards to form varying streaks. Different shapes, sizes, and timings of these streaks were created as a matte element used to color the eyes black.
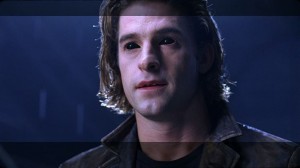
As the element played backwards it appeared that Michael’s black eyes were being sucked into his pupils. All reflections and hilights were created in Shake and tracked into the background plate.
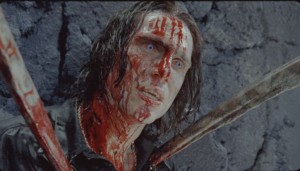
This shot was accomplished using what the VFX industry refers to as a 2 1/2 D approach. The look of the eye, including design, color, texture, and the way it revealed was created using a combination of Photoshop and Shake.
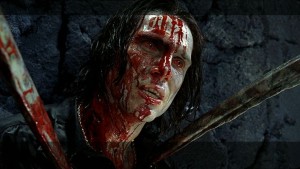
The various elements were projected onto a card in Maya, and given the proper perspective and curvature before running through the 3D camera tracked from the live action plate. The resulting element was then brought back into Shake for the final composite.
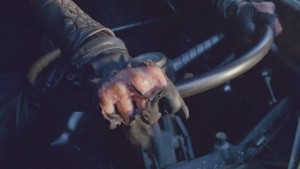
The goal of this shot was to take a live action plate of Selene’s gloved hand on a steering wheel and show the effect of sunlight on vampires. We took the hand element and digitally burned the leather glove away much as a magnifying glass concentrating the heat of the sun onto a piece of paper. After tracking the shot in PF Track to create a 3D camera that correctly represented the move, the vfx artists at Furious built a hand model in Maya and tracked it frame by frame to exactly match the live action.
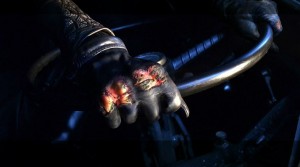
Referencing photographs, the crew projected the leather texture back onto the 3D hand and made quite a few adjustments to eliminate unwanted stretching and tearing. Once the texture was in place, several reveal mattes were created in Shake and projected back onto the 3D model so that the mattes would correctly move across the surface of her hand. 3D emitters were placed on the edge of those mattes to provide smoke that gives a characteristic of burning leather.
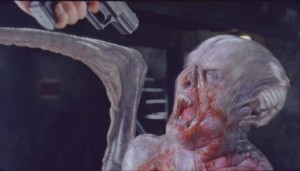
In beginning this shot, they first reviewed the entire cut and were given the go-ahead to try anything that seemed to work for continuity. The general idea was to make it appear as if Selene is firing rounds directly into Marcus’ face at very close range. They started with a live action plate of Selene shooting Marcus, which included only the actor’s reactions with no physical damage to his face or muzzle flashes from the gun. The first step was to create a few different concepts for the physical damage on Marcus’ face.
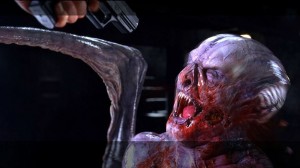
Still images were painted in Photoshop to convey various levels of tissue damage. Once the director made a select, the artwork was refined, then projected onto a card in Maya and tracked using PF Track software so that the still image and multiple layers of CG gore would stick to the face. Chunks of skin, blood, and smoke were created in Maya to show the effect of a powerful gun blast ripping a huge hole in the side of Marcus’ face. Practical muzzle flashes were added to tie in with the reactions of the actors
