Today Adobe unveiled CS5 – there are multiple applications in CS5, but for many Photoshop and After Effects are the most vital. In fxguidetv later this week we will profile the new AE, while in this article we take a critical look at Photoshop’s HDR and Content Aware functions. Plus we’ll explain and list the JDI fixes.
In Photoshop CS5 there are many new features but a few really stood out as we have been testing it for the last several weeks. HDR production is improved and has been made simpler. There is an impressive new Content Aware Fill and Repair option and the team at Adobe has implemented a raft of JDI fixes. JDI stands for “Just Do It” – minor improvements, that individually are not major, but collectively add up to an improved user experience and a less stressful working day.
HDR
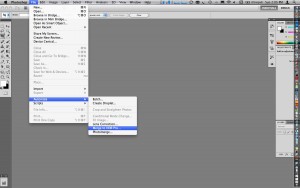
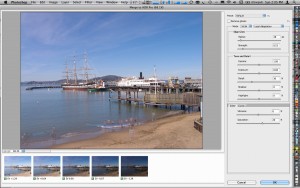
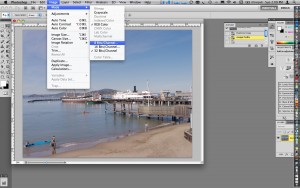
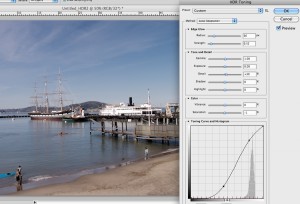
The HDR functions have been improved by the addition of a Ghost removal option and a simpler GUI.
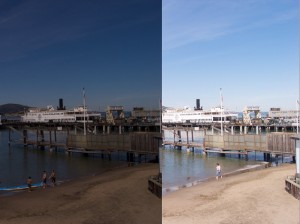
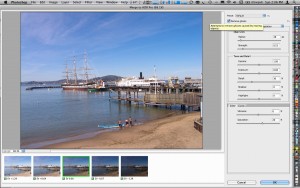
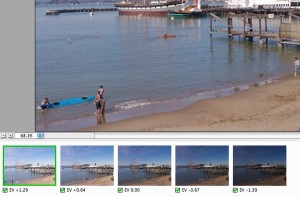
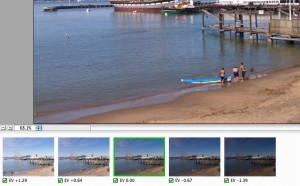
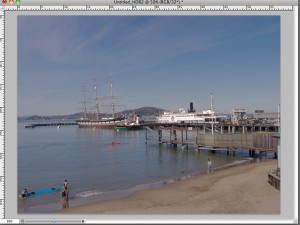
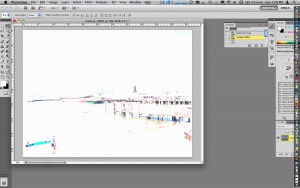
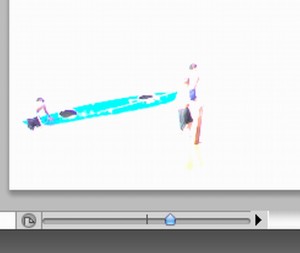
Ghosting occurs when multiple bracketed images are combined and there has been something that has moved between shots. Typically this could be someone walking or moving from one exposure to the next. In the new CS5 – multiple exposures are still bracketed together but you have the option of selecting a hero frame if anti-ghosting is turned on. This will look for erroneous data between the frames and remove it as part of the merging. For example if five bracketed shots are combined, then a person moving may show up as a 1/5th ghosted element (see below). In CS5 that person would be removed from all frames except the hero frame. In the case that they are still visible in the hero frame this image of them will appear fully and unfaded in the final 32 bit HDR. Of course there is no higher or lower dynamic range information for that unique part of the frame so the program is effectively putting a LDR (low Dynamic Range) patch in to the HDR. In your sole aim is to produce a nice tone mapped lower bit depth image then you will notice almost no difference and the results are likely to be highly satisfying. However if you are aiming to use the 32bit file for some other VFX purpose – the “LDR Patch” should be removed as it will not be correctly graded when you access the HDR at different exposures. In a sense the lower LDR patch will be stretched in bit depth, this may not be a problem but it mathematically should be removed with 32 bit paint tools prior to export to an HDR format such as OpenEXR etc.
See this example from a set of HDRs we shot in San Francisco on a Canon 5D.
Content Aware Fill and Repair
The early demos of the Content Aware Fill and Repair rightly flagged the Content Aware tools as being of particular interest to the VFX community. In our lab testing the tools deliver in many respects but stop short of ‘magical’ wire removal some people have blogged they could be. In short it works great on stills but is unlikely to work well on moving clips.
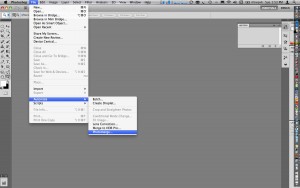
Content aware tools are available in a few places in Photoshop – from the traditional fill function to the spot healing tool.
Content Aware fill
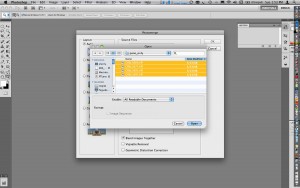
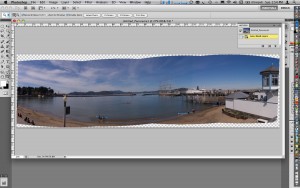
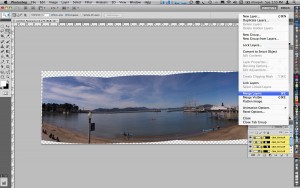
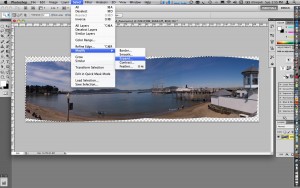
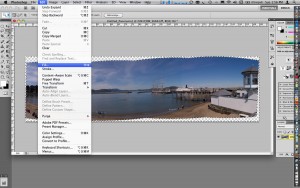
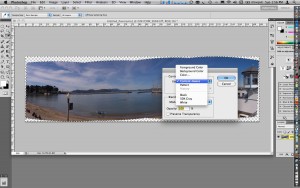
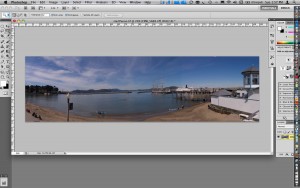
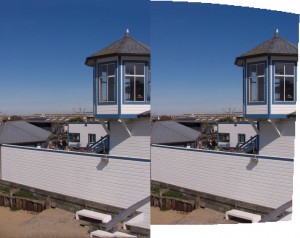
This is a very successful example of advanced image processing and intelligent programming that borders on spectacular. In this image below we merged 4 images into a long panorama and then used the Content aware fill to expand the image out to the edges.
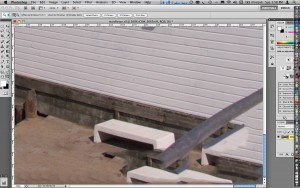
While the results look brilliant – on close inspection one can see the intelligent choices the program has made. Some of these choices such as extending straight line is faultless – others are not bad guesses but clearly not as informed as a real life artist could make. But as the extensions are color corrected and gamma corrected to match the original – the results are very impressive. Sometimes a simple sky extension can seem simple but due to subtle grads in the blues of the sky – the actual cloning and painting work is hard to correctly or quickly achieve. But here in this example the sky is near faultless. Adobe is to be praised for some seriously clever and useful programming.
Content Aware Spot Healing Brush
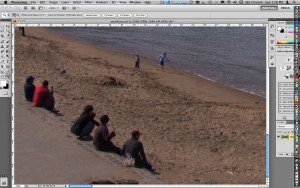
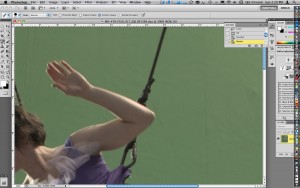
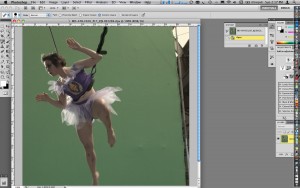
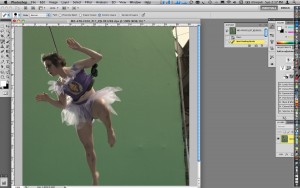
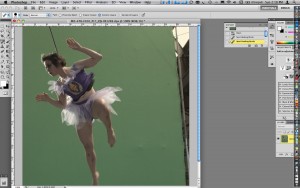
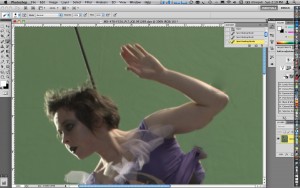
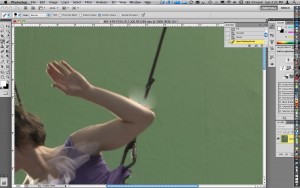
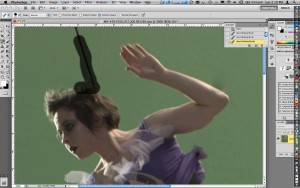
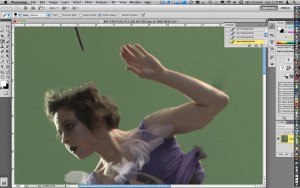
The brush may appear as the ultimate wire removal tool, but on moving footage it would be near impossible to achieve seamless – temporally consistent results. As the program accesses light and shade and in particular edge contrast – it produces good results on stills as seen above but on say a person, the results are not a magical solution and often artifacts can reveal the tools use. These artifacts range from smearing out to inconsistent edges.
The tools would be brilliant in removing unwanted artifacts in a matte painting or texture still but not for a moving sequence.
Just Do it
Photoshop CS5 incorporates a number of innovative technologies that come directly from the team in the Adobe Labs. Tackling this type of feature integration is no small feat and often prioritization is required. However, on the cusp of its anniversary year, the Photoshop team decided to try something new. They challenged themselves to take time out to address many of the smaller feature requests and enhancements that don’t necessarily get top billing, but definitely impact everyday workflow. They named their effort the “Just Do It” project and decided to literally carve out time to “Just Do It” and see how much they could refine – all in the name of solving customer pain points and making simple tasks much smoother. In order to select “Just Do It” (JDI) features, Photoshop product manager Bryan O’Neil Hughes solicited information from many avenues, including blogs, user research, sales, customer support, forums and evangelists The team reviewed the extensive list of requests and narrowed it down to the most popular – 50 JDI features.
The team figured completing 15 items would be a rather ambitious milestone, given their time constraints. They delivered over 30 different JDI features, more than double the amount they had originally anticipated.
JDI Features include:
• Added the ability to close all open images without saving
• Added GPU rule-of-thirds to the crop tool and color picker
• Added the ability to adjust the fill of multiple layers
• Increased performance for the OBJ file importer, making it faster to import OBJ files
• Enabled easier reversing of clone source
• Included a “Don’t Show this Message Again” checkbox for the “Maximize Compatibility” option
• Lowered the default amount for Shadows/Highlights
• Enabled the ability to move a selection while an active layer is hidden
• Added an option for turning off Mac touch gesture support
• Added a command for deleting all empty layers
• Added straighten image behavior to the existing ruler tool – improving the old rotate to level ruler trick
• Added a preference to always default to the folder you last saved an image to
• Added the ability to drag and drop a file onto an open PSD to create a layer
• Added tile size control plus presets for setting cache and tile size simultaneously
• In Adjustments panel, enabled keyboard shortcut (Shift-Enter/Return) to put the focus on the panel text fields
• Added the ability to adjust the opacity of multiple layers
• Added individual layer style defaults (user-configurable)
• Added a Gradient Tool preset for neutral density
• Made 7 improvements to Lens Correction along with significant feature work:
1) The grid display is now off by default
2) The show grid, grid size and grid color are now sticky
3) Default grid size has been increased from 16 to 64
4) Decimal point adjustments for the chromatic aberration correction sliders are now allowed
5) Added a third slider to correct the common green/magenta aberrations with one slider instead of two
6) Replaced “Background Color” with “Black Color” and added “White Color” edge fill option in the edge fill type drop-down
7) Reset to reset calibration settings only
