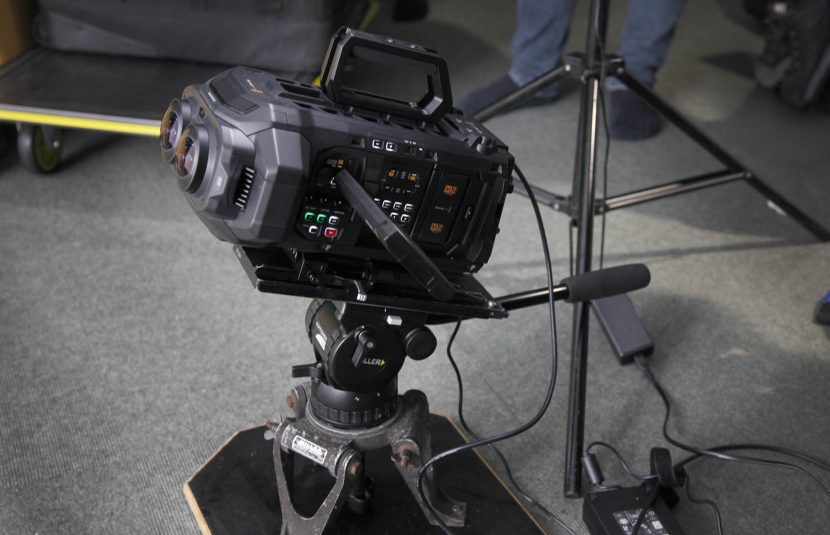
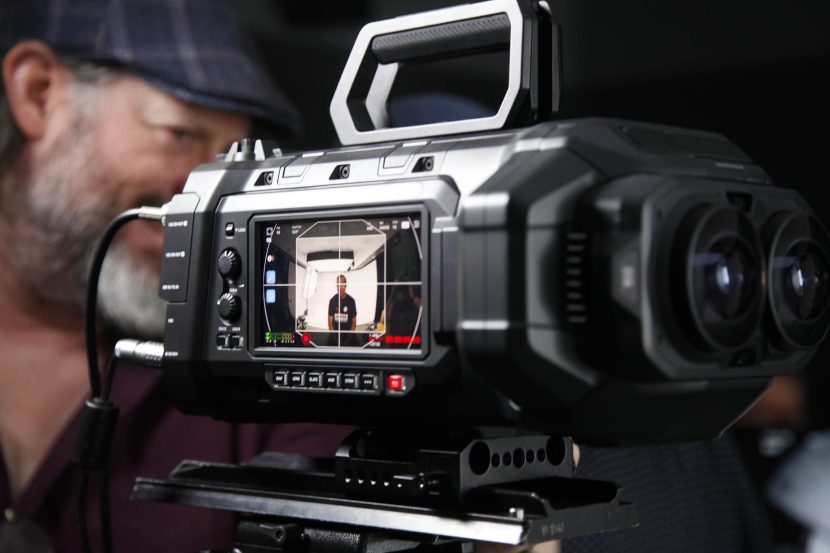
In partnership with the production company Main Course Films, we are doing a series of test projects exploring how to create Apple Immersive Video (AIV) and Apple Spatial Audio (ASA) on Apple Vision Pro. This is made possible because we are filming with the first camera on the market, the Blackmagic URSA Cine Immersive camera, which meets the high-quality specifications for the Vision Pro. Along with this article, you can also download the first-ever URSA Cine Immersive files ready for you to play back directly in the Vision Pro.
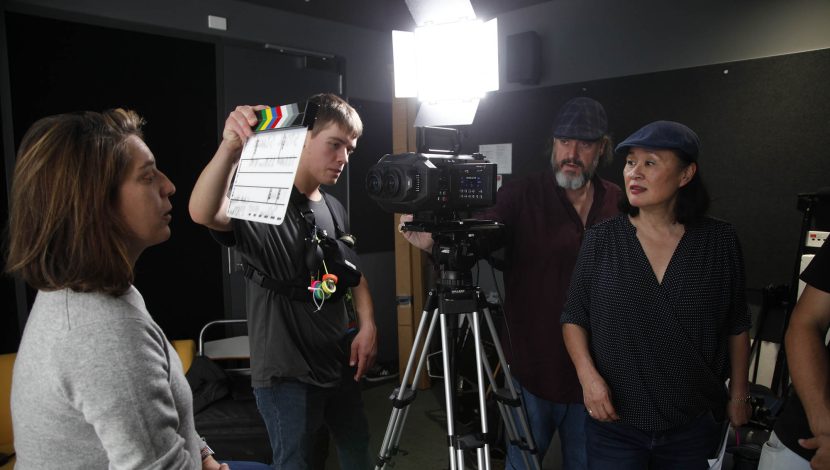
Writer-Director Clara Chong and Cinematographer-Colorist Ben Allan ACS CSI from Main Course have been deep-diving for months and they’re sharing what they’ve learned on how to make Apple Immersive content. Clara explained, “Although there’s a lot that can be learned from watching the Apple Immersive content that Apple published on Apple TV, we felt that it was really important to get a clear understanding of the practical application of subject proximity and the viewer’s perception before beginning a project in the Apple Immersive format”.
To play our test Apple Immersive Video content, you will need a Vision Pro and the Apple Immersive Video Utility (AIVU), installed on both your Vision Pro and Mac. The AIVU app is a free download from the Apple App Store that lets you import and view Apple Immersive Video at any point in the production process.
Apple Immersive Video is stored in a new file format called .aivu, which includes both stereoscopic streams of the 180º video, the Vision Pro projection mapping metadata and the Apple Spatial Audio Format (ASAF) all conveniently into a single packaged file.
How to play the immersive video file
- Download the .aivu file on your Mac.
- Check that your Mac and your Vision Pro are on the same Wi-Fi.
- Open Apple Immersive Video Utility on both your Mac and your Vision Pro,
- On your Mac, click the name of the device at the bottom of the sidebar. You may need to click Start Searching before you see your device.
- In AIVU on Mac, click + in the toolbar, choose Import Media, then select the .aivu file and click Open. The import queue opens and it’s added to a playlist on your Mac.
- To save the file from AIVU on Mac to your AIVU on Vision Pro, pinch and hold the video in AIVU on Vision Pro, then tap Save.
- To view imported or saved videos, tap Saved in the tab bar.
- The video opens on Vision Pro, and plays as an Apple Immersive Video.
For a wireless connection between Mac and Apple Vision Pro, a local area network (LAN) with Wi-Fi 6 or later is recommended.
See the Apple Immersive Video Utility User Guide for more information.
What you will see
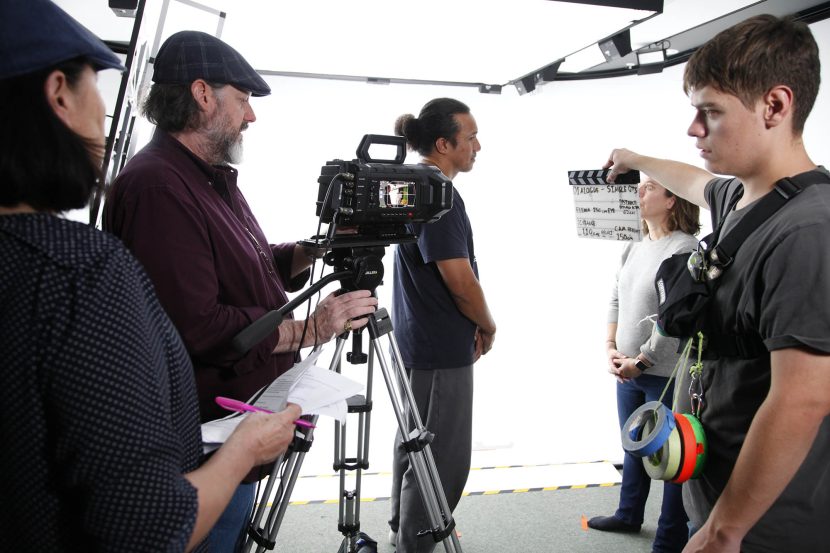
The first images you will see are not in the Apple Immersive format, but behind the scenes footage shot on an iPhone 16 Pro Max in Apple Spatial Video. This is 1080p video at 30 fps but captured in stereoscopic 3D. This footage is in a traditional rectangular frame and appears much like how a 3D movie does in the Apple Vision Pro and will show you how the tests were conducted and what to look out for in the AIV test footage. This provides a great way to see the camera in use as well as how the test shoot was structured.
At about 2.45 mins, you will see the content change from Apple Spatial to Apple Immersive Video. This content fills your visual 180º Immersive hemisphere. You will see accurate world scale and depth, without the geometric distortion you would normally get from ultra-wide fisheye lenses, even when mapped out to the wraparound spherical space. As well as the horizontal, left-to-right 180º view, look up and you can also see from floor to ceiling in the Immersive footage.
Apple Immersive features in Resolve Studio are in beta, and a higher quality encode feature is in development.
“The quality that you’re able to see in the test video is incredible, and I’m excited that it will get even better in the near future,” said Ben. “It’s also great to know that projects created using these early versions of Resolve Studio will be easily re-exportable in future releases. This is really just the beginning of what the camera is capable of,” he added.
What you can see clearly in the test footage already is the 90 fps, the stereoscopic 3D and the accuracy of the projection mapping metadata.
There is no 2D version of this video but you using AIVU you can preview the file— just click and drag on the thumbnail and look around at different parts of the image. But what you can’t see of course is the 3D depth and the 1:1 world mapping.
Using the URSA Cine Immersive
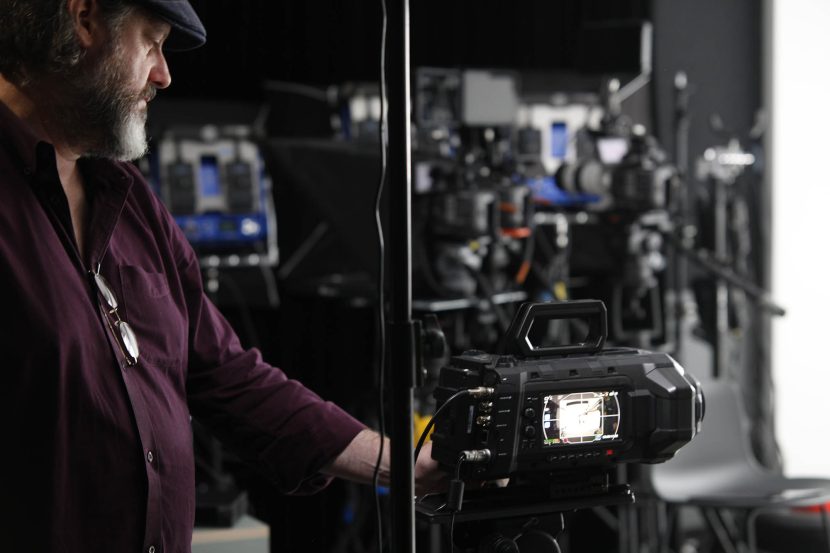
The first thing that’s surprising about working with the URSA Cine Immersive camera is how quick it is to set up. Because the camera is fully self-contained with even the lenses permanently mounted to the camera, there’s actually very little that needs to be done to get it ready for shooting. The camera outputs 2D, 30 fps downconversions to either HD or UHD from the SDI ports, and we used an UltraStudio 4K Mini to convert this signal to HDMI for monitoring on a typical monitor. The picture that is displayed is the fisheye image created by the ultra-wide lenses.
The big difference is with the quantity of data which the camera produces. Even at the recommended 12:1 compression setting, the 16 minutes of raw footage that we shot in the studio for these tests generated more than 1.2 terabytes of data!
Height and distance perception
Blocking of a scene has always been a key to storytelling. Viewing the test footage inside the Apple Vision Pro really highlights how height and distance work together to shape the viewer’s experience. What’s striking is the sense of spatial clarity; the precision of the projection mapping allows the viewer to orient themselves within the scene with remarkable accuracy. It’s not just about watching a moment unfold; it’s about knowing where you are in that captured world. That heightened situational awareness deepens the sense of presence, making the camera’s position feel not only deliberate but inhabited.
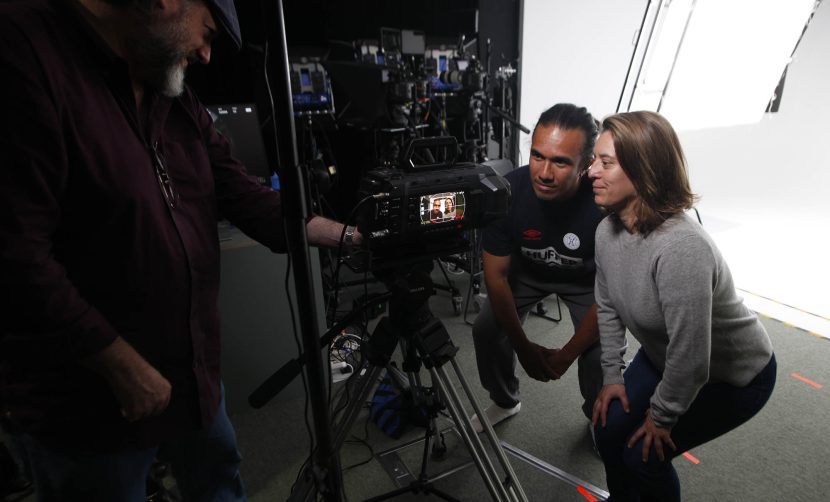
One of the most powerful yet often under-appreciated tools in cinematography is camera height, because where the lens sits, the audience mentally follows. It’s not just about framing; it’s about feeling. The viewer doesn’t just see the scene from the camera’s perspective; they embody it. In the test footage, we mounted the camera low on a hi-hat, just above floor level. What emerged wasn’t just a lower angle, but a distinct shift in emotional tone. That low viewpoint subtly placed the audience in a more exposed, even vulnerable position. Depending on the context, this shift in perceived physicality can dramatically influence how a shot plays emotionally. It’s a reminder that in visual storytelling, where you place the camera is also where you place the audience.
As the camera moves further from the subject, the emotional weight of camera height starts to diminish. At greater distances, those vertical shifts translate to smaller angular differences on screen, and as a result, the viewer feels less of a visceral shift in perspective. The effect isn’t gone, but it’s softened or subtle, more observational than immersive.
Depth and proximity perception
As we’ve seen across years of experimentation with VR and stereoscopic systems, depth perception isn’t just a technical artifact; it opens up a psychological space where the relationship between camera and subject starts to echo our real-world sense of personal space. In the AIV format, that effect is noticeably amplified. Thanks to its true 1:1 projection mapping, the perception of distance feels incredibly grounded, almost tactile. This just never happens in a 3D movie shown in a cinema, as there is no 1:1 mapping. Add to this that the Apple Vision Pro is vastly higher resolution than a projected 3D movie, and the viewer isn’t just seeing spatial relationships; they’re feeling them in a way that closely mirrors physical experience.
This all creates a much more stable perceptual anchor, allowing the audience to intuitively judge proximity, what feels natural, and crucially, what feels too close. And fascinatingly, that boundary is fluid. What reads as intimate or intense in one filmmaker’s hands might feel invasive or flat in another’s. Context, intent, and style all shape how proximity is interpreted. It’s a reminder that even in immersive formats, creative interpretation remains front and centre; it’s not just where the camera is, but why it’s there, what motivates its position?
The immersive director’s viewfinder
Your eyes are the best guide to what your content will look like in the Apple Vision Pro. Just look from the exact position of where you intend to put the camera. This needs to be from the position of the front elements of the lenses, but if you get that position right and the subject feels too close in real life, it’s a pretty safe bet that they will feel too close when the footage is played back in the device. And importantly, given the wide angle preview output, if something looks too far away on the video spilt monitor, that’s not necessarily going to be the case, in fact we found it to be almost misleading.
Next tests
The next step will be to apply these learnings in practice through a short narrative film. Working again with Main Course Films we are going to film a narrative film (not a gimmick demo reel). The script has been written specifically for Apple Immersive Video and is designed to explore the possibilities and push the boundaries of the new format.

Thank you for sharing this test. Looking forward to the upcoming film.
Would you be able to share the Davinci resolve export settings for this test footage? I can’t seem to find the right settings to export a Vision Pro bundle with as smooth and as high quality as your test footage.
Hi Jack, there are a number of factors that seem to help. For this we set the timeline to 4896 x 4320 and then the output to 4320 x 4320 stretched to maximise the resolution without slowing down the renders too much or breaking the relationship with the projection mapping metadata. I’ve also found that using DaVinci color management helps, with the color processing set manually to HDR DaVinci Wide Gamut Intermediate. Selecting the right scaling algorithm for the content also helps – for this I used Mitchell resizing. Getting the right quality in a reasonable file size is definitely one of the challenges of the format!