FCP X on the iMac Pro is a powerful tool to use. With it’s 5K screen that can play 4K .r3d files in realtime without transcoding or specialist setups, assuming you have the Red Workflow plugin downloaded, the .r3d files play in realtime with a clean demosaicing algorithm, 1 to 1 pixel matching and with all the crisp quality. It achieves this while also integrating at the other end of the camera spectrum with your iPhone X in surprisingly professional ways, by supporting wide gamut workflows. Beyond the 1:1 4K playback, Final Cut Pro users can now edit full-resolution 8K video for the first time on a Mac. This version of FCP seems to straddle the divide between everyday and high end workflow pipelines.
Competition
So where does FCP X sit in the editing landscape? AVID seems focused on ‘enterprise’ server level multi-seat installations. The other 3 players, Apple, daVinci and Adobe, are all pointing in interesting directions whilst still very much displaying their heritage or their editing DNA.
If you look at the FCP X demos of this latest release, the dominant aspect is the new colour correction tools. FCP strongly shows the DNA of coming from a hardware company, given how well it runs on the iMac Pro. But interestingly, it simultaneously offers EDL transfer from an iPad running iMovie.

In the world of Colour Correction, daVinci has reigned supreme in recent years, having been given enormous strength from Blackmagic while redefining the price point of complex grading. And yet, increasingly daVinci’s marketing indicates it’s desire to also be an editor.
While Apple and Blackmagic eye each other’s strengths, Adobe Premiere, in contrast, is neither bragging about editing nor colour correction but talking mainly about Machine Learning and A.I. This flows logically from it’s shared algorithmic space with After Effects, leveraged with it’s R&D Adobe MAXed Sensei. Adobe’s automatic rig removal and asset image library based deep learning is remarkable, however everything – even standard optical flow algorithms – are being labeled ‘AI’ by Adobe’s enormous marketing push of Sensei. Don’t misunderstand, Sensei is brilliant, but it is now a catch-all for ‘clever image stuff’ and not just machine learning or AI implementations. Adobe is betting all it’s chips on positioning itself as the software innovator, and owning AI in the professional creative users’ minds.
Which brings us back to FCP X. It does have many of the clever new editing tools that could loosely fall under the AI heading – such as morph clever edits which hide a jump cut on a talking head shot (this has been in FCP for a couple of releases now) – but this release has Apple solving FCP’s weakness in colour grading, while producing a super fast experience that covers the professional to the amateur. This strategy only makes sense for Apple. There is no logical reason for AVID to support an iMovie style edit on an tablet or phone to 8K / 360 VR editing. But it works for Apple. It works in part just because the consumer expectations of resolution have caught up with professional. With tiny Drones that can shoot 4K, for a few hundred dollars one can shot 360 video, and so naturally you need to be able to edit those. But Apple has gone beyond just consumer desires, it is also trying to address the serious HDR editor and provide an edit station that is just as valid for a AR developer as for a GoPro Extreme sport enthusiast.
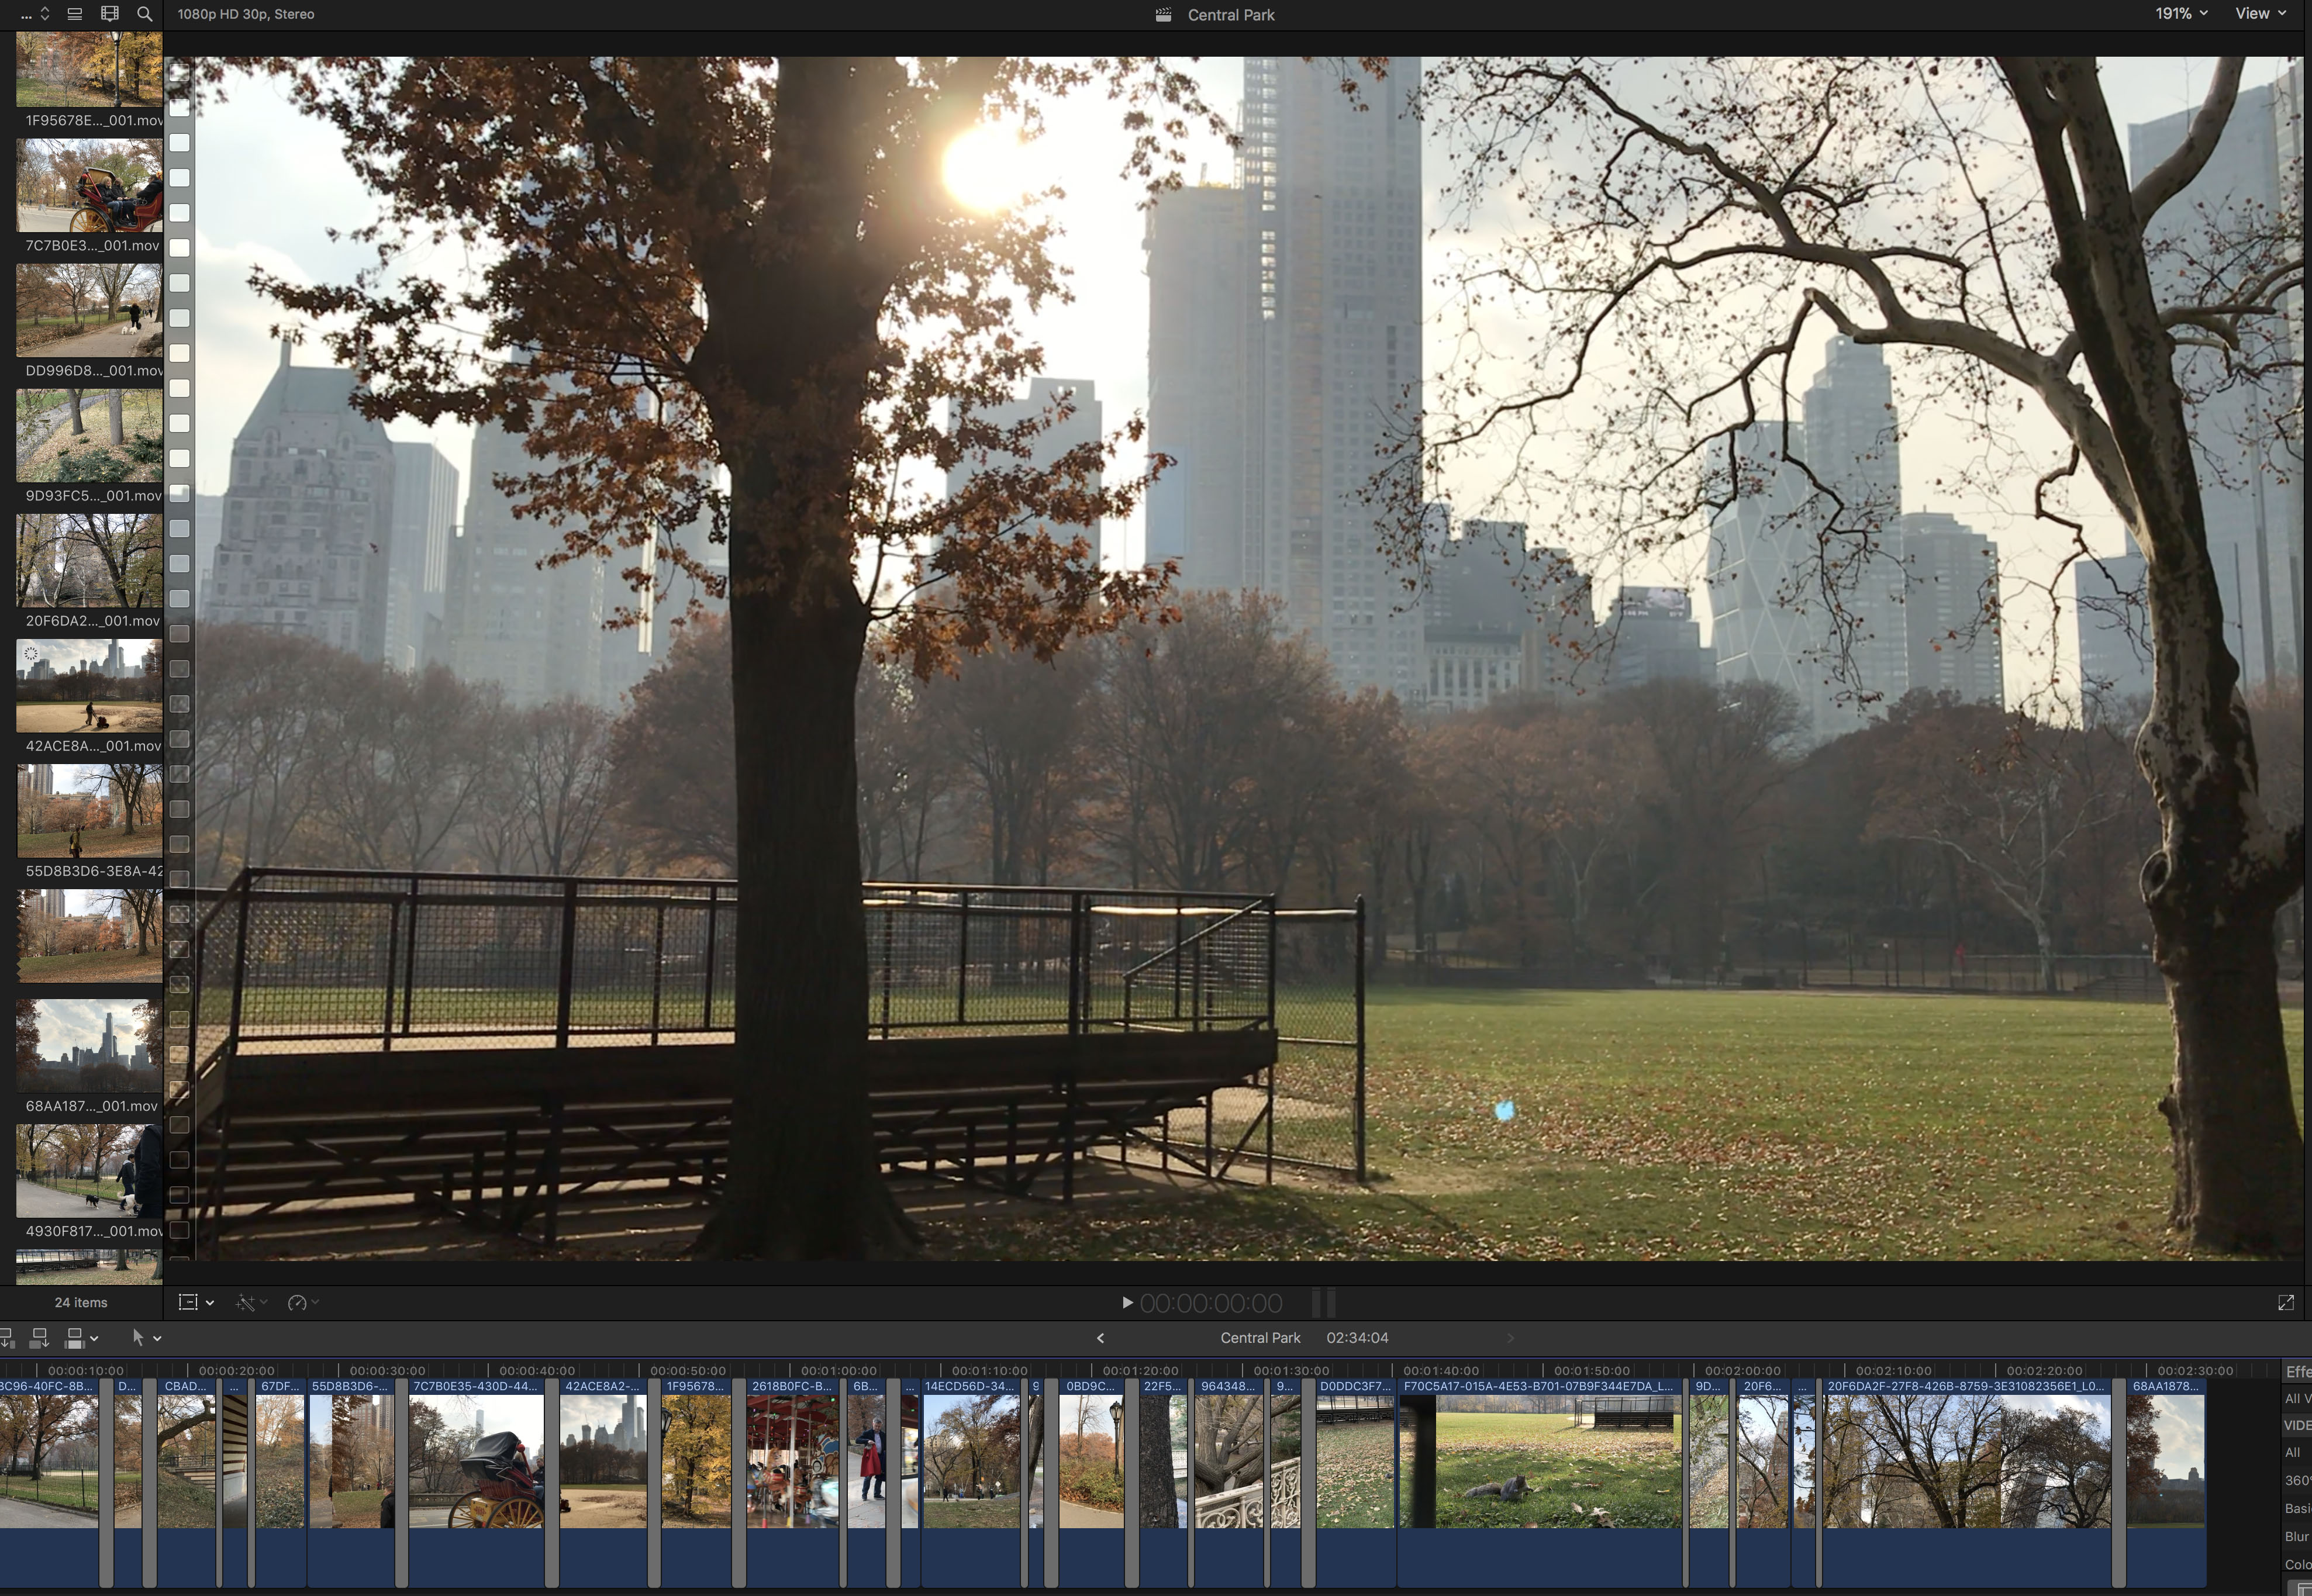
The great thing about this approach is that so many of these lower cameras and systems are useful to the serious professional. For example, there is no doubt a serious film maker will want to shoot on an Alexa or RED camera. But they may also want to do as we did and go on a ‘reccie’ location scout, and film some shots to give the mood of the location. When we went to Central Park and filmed on the iPad Pro, no one looked twice, we just happily shot without permits or fuss. This is something unlikely to happen with a bulky Red Camera and why would you want to take a huge camera on a scout anyway? Not only did we shoot locations on the iPad Pro, but when the plane was delayed on the tarmac the next day, we happily edited the entire sequence, including slowmo shots, on the iPad Pro and then transferred the EDL package to FCP X for the final edit, grade and finishing. Having the material and timeline shared is a simple but very useful feature.

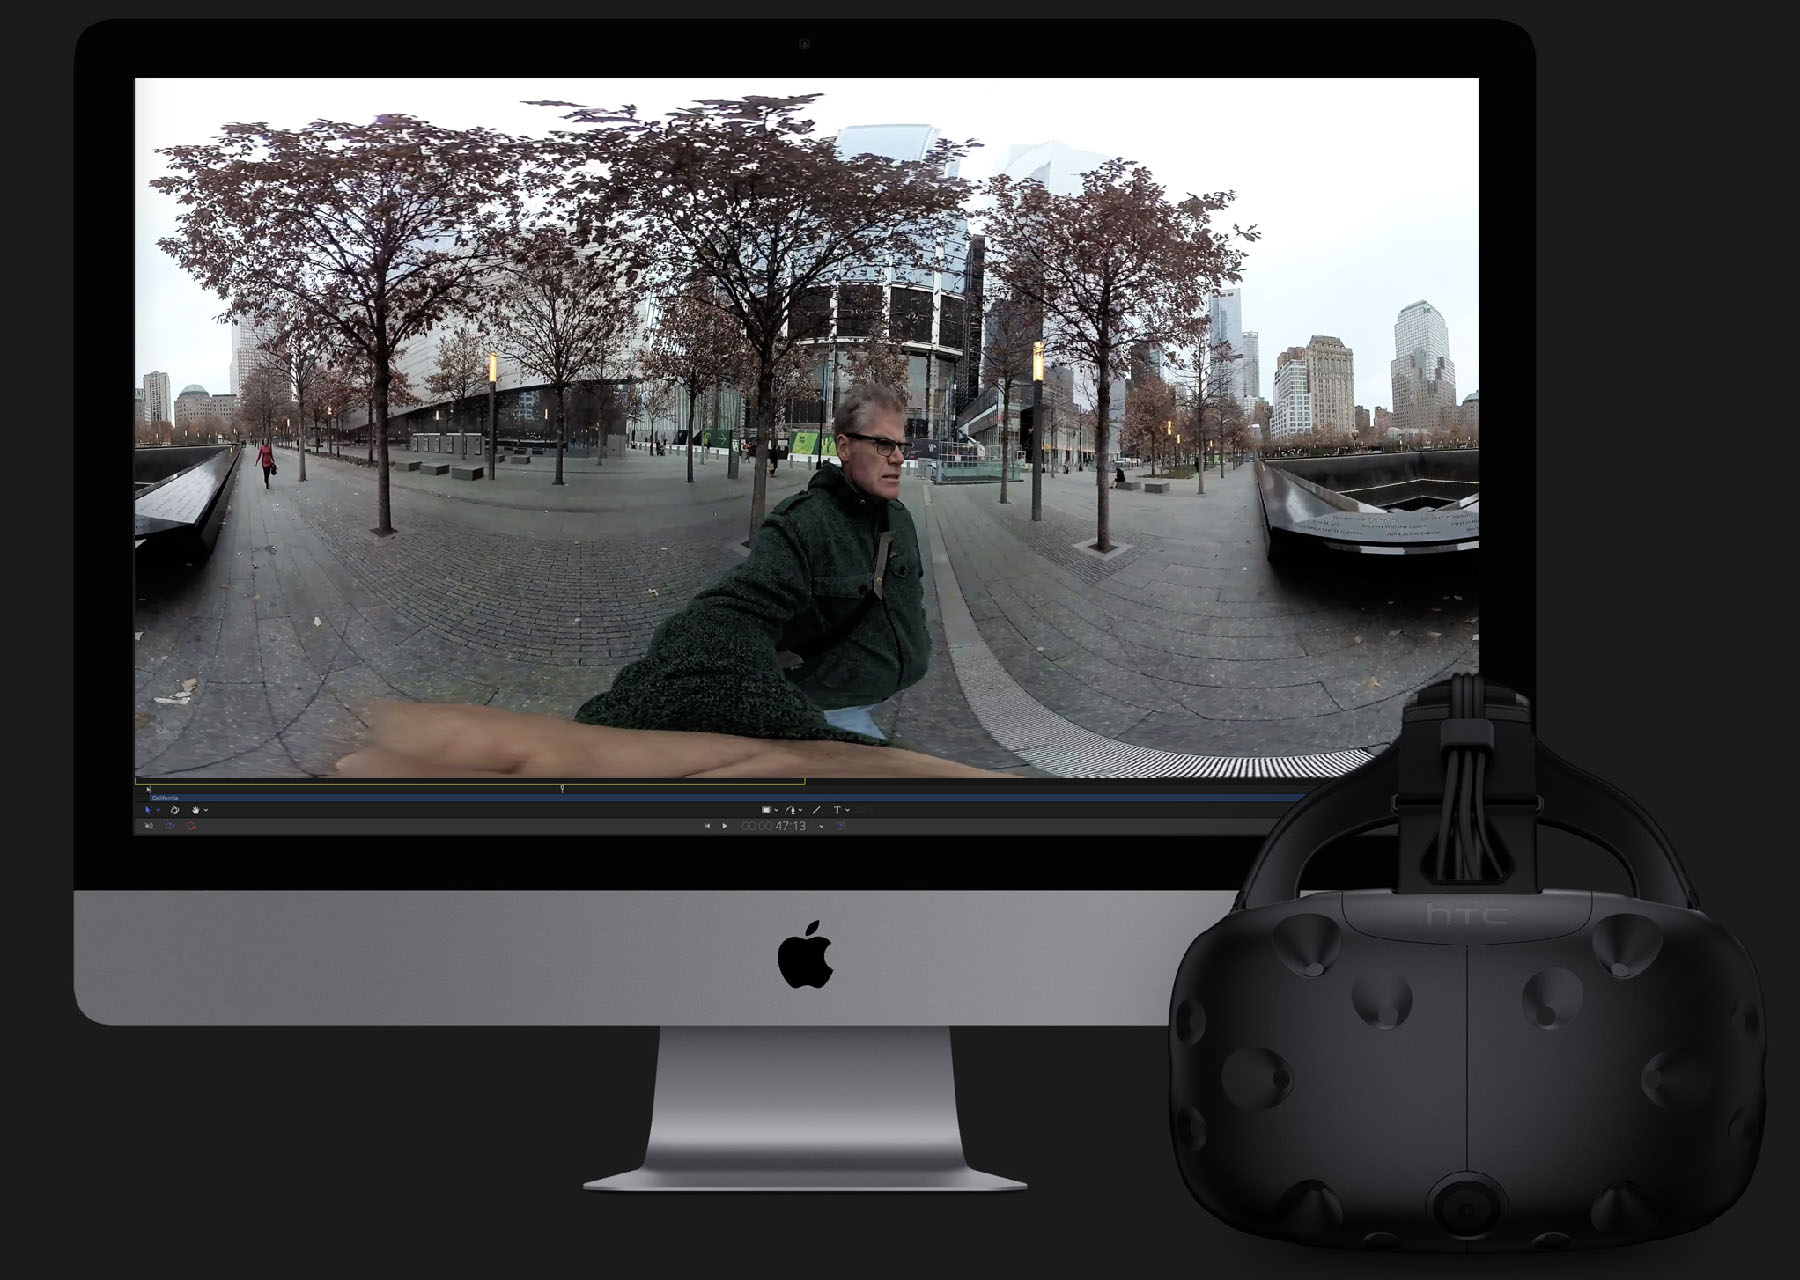
Similarly when we were visiting Wall Street and the 911 memorial, we were able to shoot on the Rylo Camera (only $499) and then transfer, via our iPhoneX, the 4K 360 video to our FCP while travelling back uptown on the Subway. (see below)
The point is that while we also edited 5K NYC helicopter footage shot by our mates the Diamond Brothers, in FCP, it is brilliant to be able to grab and edit location reference material and 360 video, not because the footage is better, but because it allows one to be flexible and have a real world production workflow. Just about every job now needs footage, reference or material from a variety of sources and as a professional one needs to embrace the quick and easy as much as the high end and brilliantly shot main unit footage.
While 4K can play in real-time directly, highend footage such as RED Weapon 8K transcodes in the background to 4:4:4 12 bit, either while logging your material or after import.
There are 2 million seats of FCP so the product is established but with this version it better embraces the high end, (once again).
Colour Grading
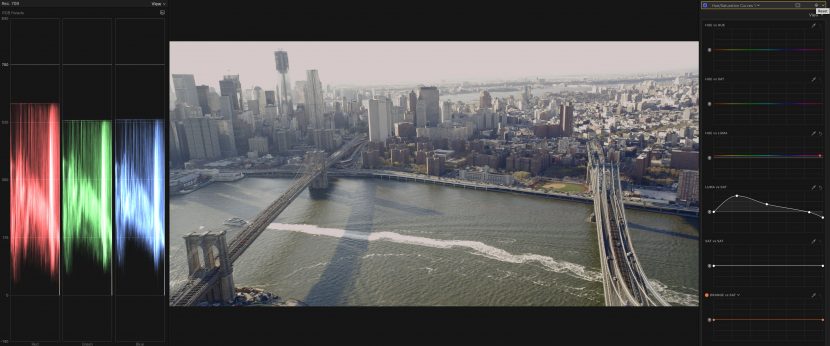
In this release, Apple fixed FCP’s colour grading, and frankly they needed to. While one can still XML round trip to say daVinic for complex finishing, the new tools in FCP X make it much easier to finish jobs inside FCP X if you wish. With the new improved, responsive colour wheels and in combination with a set of new scopes, colour grading inside FCP has taken a huge leap forward. Once one moves past domestic Rec 709 HD or consumer 4K, it is very likely that everything will require a LUT and grading. Without advanced colour tools, including secondaries and a range of colour grading tools, FCP X only really worked well when run in concert with daVinci. Now you can finish an indie project inside FCP comfortably.
All of FCP is built on a database so the product is robust and flexible. Editors can search on notes for Colour grading and handle large amount of editing material, as typical shooting ratios always reflect in the age of digital cameras and cheap storage.
The only issue we saw in the current version is that the custom LUTs added in FCP X don’t carry to an XML round trip daVinci grade. It would be really handy to send the XML to daVinci and keep all the LUTs added in FCP – if this is possible, we could not work out how to do it.
Secondaries
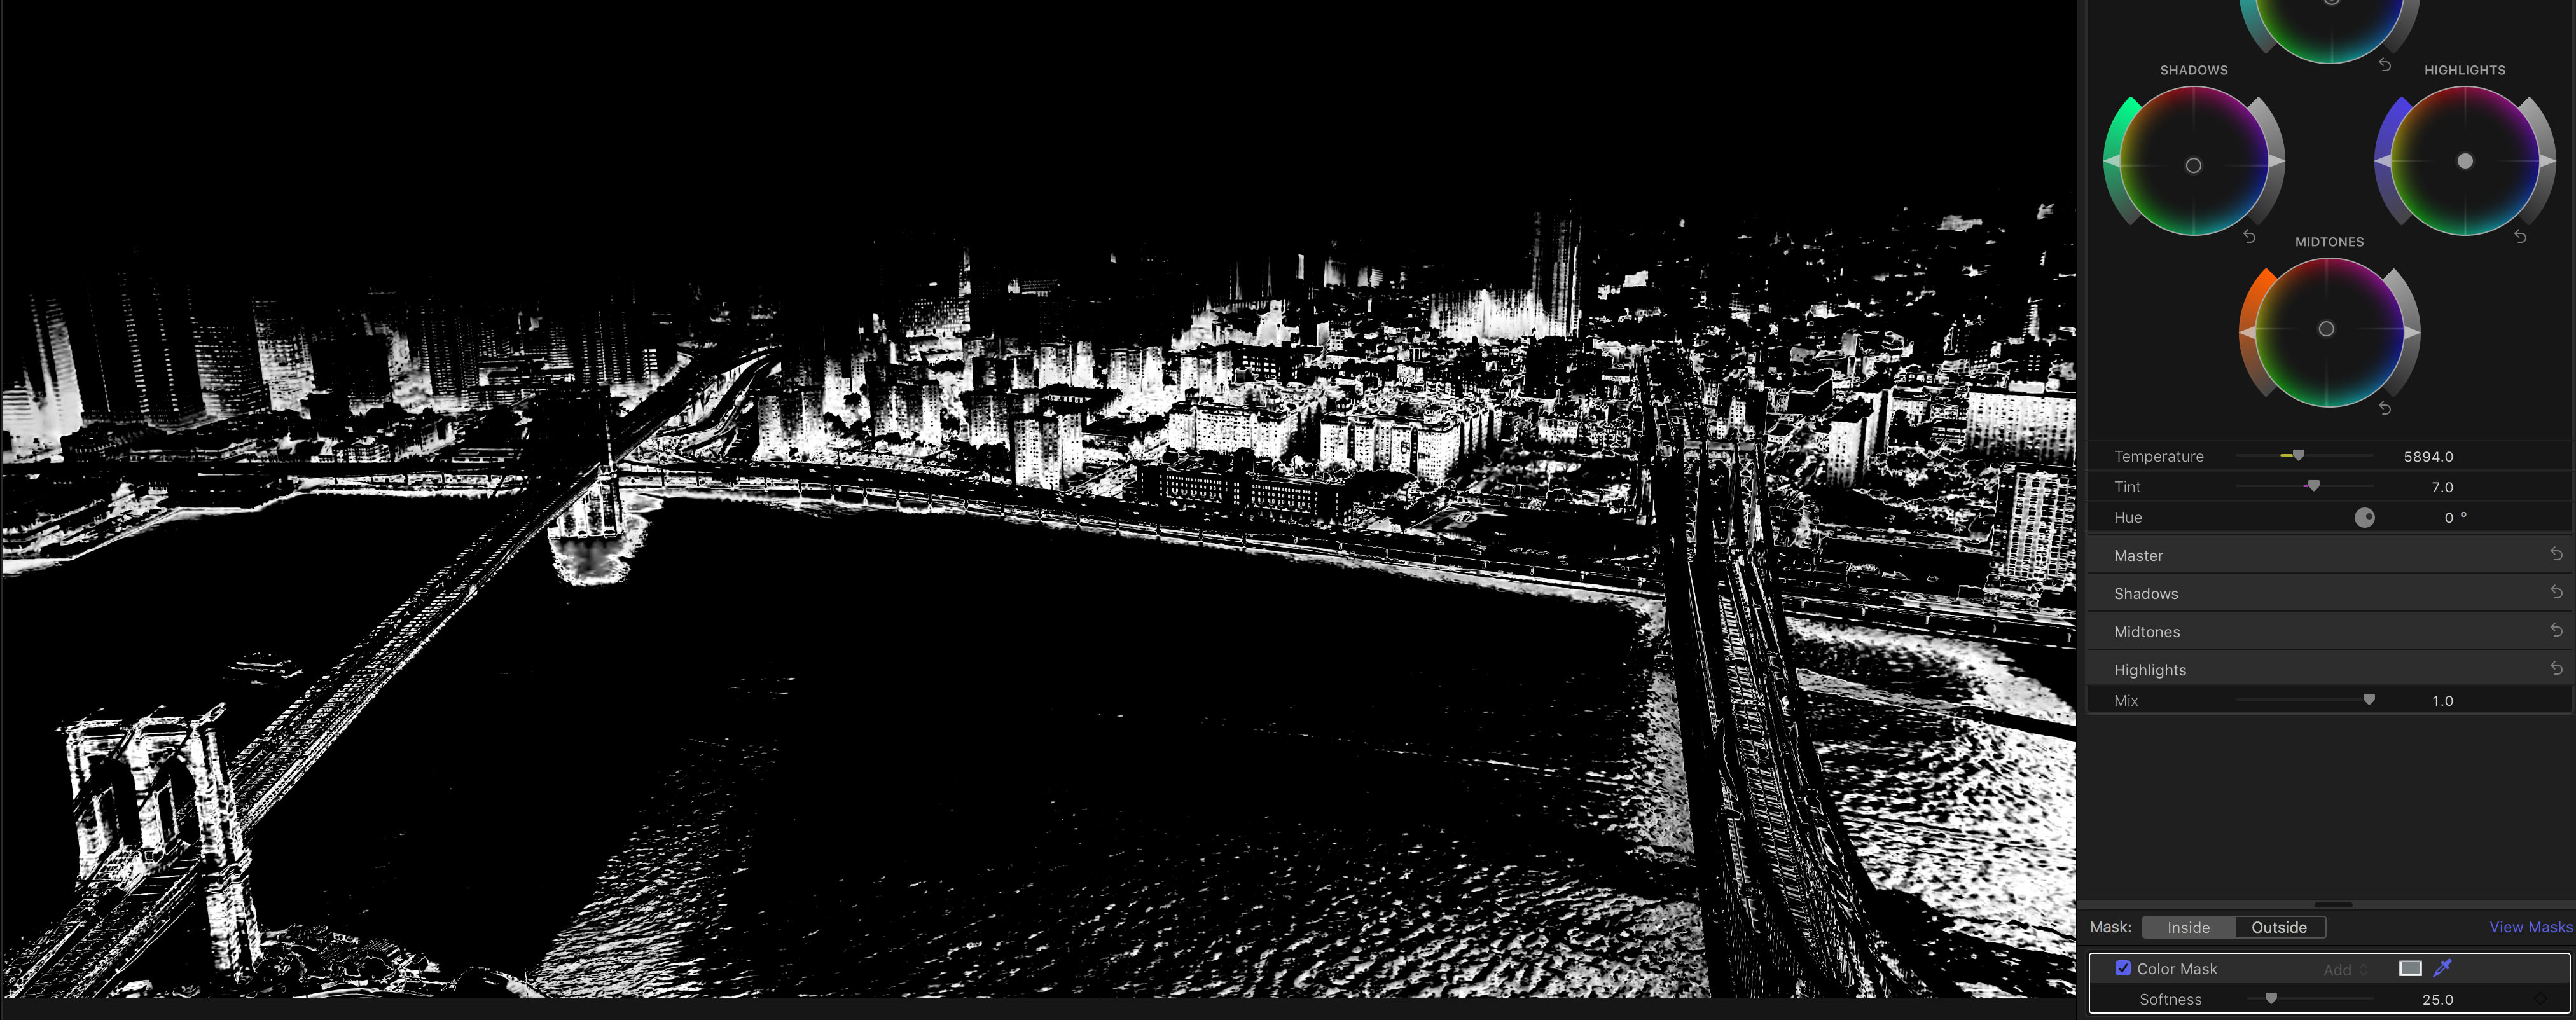
Secondaries are not new – at the turn of the century PowerWindows and Secondaries were the tools that made $$$ grading suites so powerful. While they are now standard in FCP X, mastering them is still critical to strong, effective and consistent colour grading.
With FCP X, one can import, edit, grade and deliver vividly powerful images using HDR video. Scopes automatically adjust to reflect HDR brightness levels, and tone mapping lets you easily convert HDR to Standard Dynamic Range (SDR) output for broadcast.
One issue we did have with Round Trip XML export to Resolve is that you need to commit to grading in one or the other. Only a simple CDL level is passed from FCP to Resolve so if you start a complex grade in FCP, you need to redo it in Resolve if you later decide to move the project to Resolve. The workaround being rendering out the complex grade and baking it into a new copy of the footage. Hopefully in future versions of FCP X, Apple will allow a more complex transfer via XML.
Powerful tools
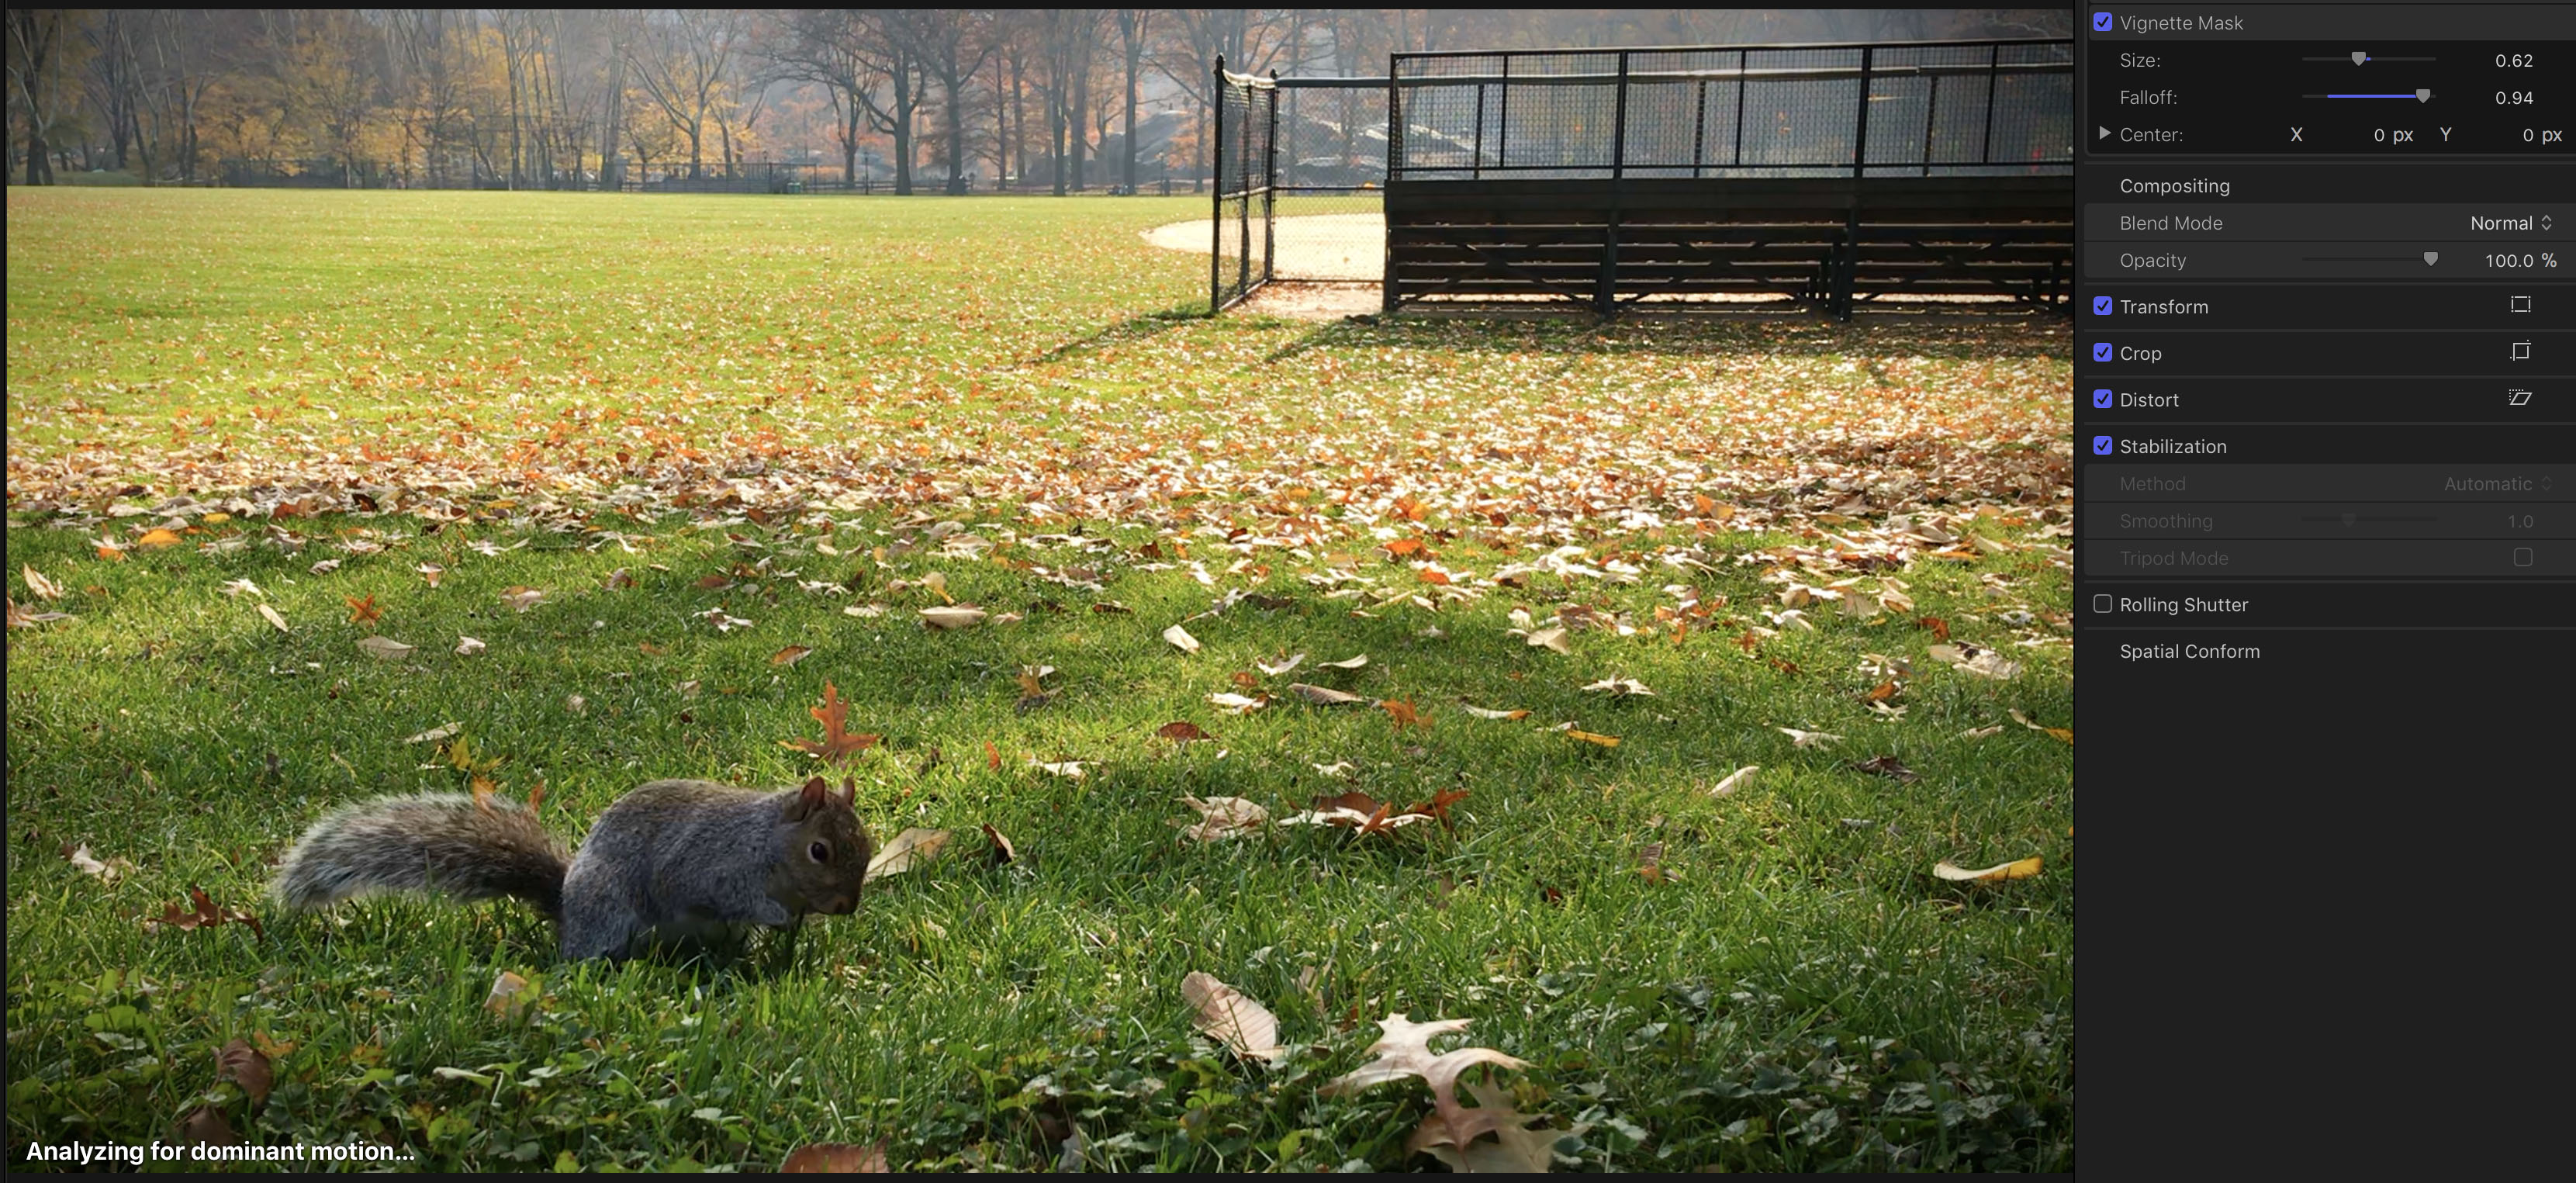
Like Adobe, built in stabilizing and editing tools are powerful, but they often are also slow. In the new FCP X on the iMac Pro 10 core we were testing with, our problem was having the clip process long enough to do a screen grab! The product is way faster than we are used to on say the MacBook Pro, a rule of thumb seems to be four times faster.
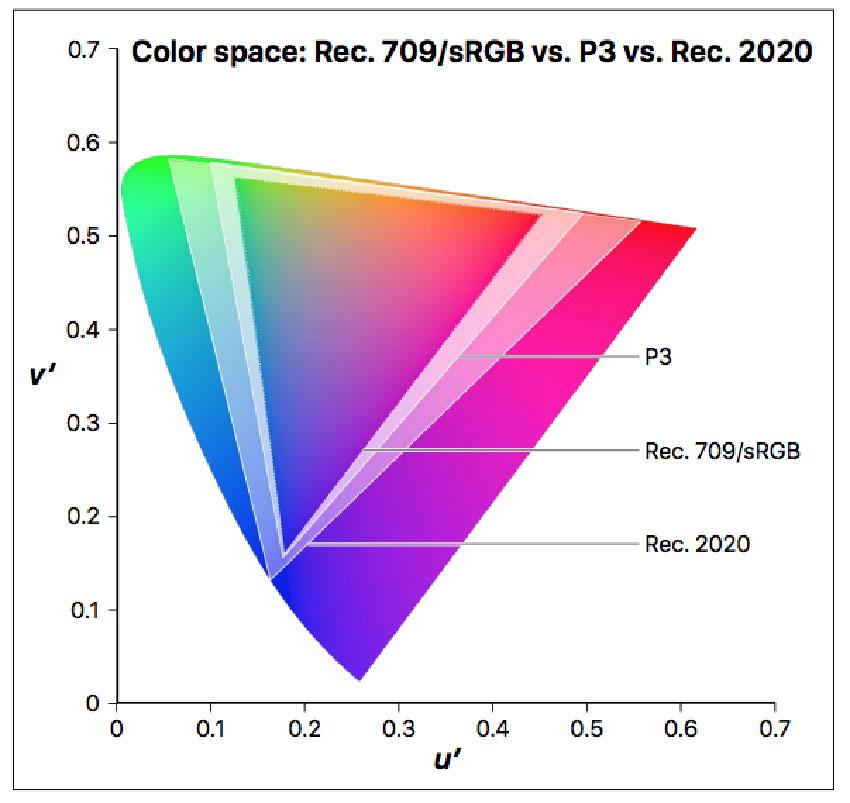
The monitor and base setup is designed around a P3 colour space gamut, but Apple clearly understands high dynamic range colour, and never once while testing the product did I feel the need to refer to a ‘broadcast’ monitor. We turned off a side client 4K LED monitor as the Retina displays were just so superior and more accurate. Furthermore, the colours on the iPad Pro and iPhoneX seems remarkably close to the colour on the screen on the iMac Pro. There is no doubt one needs professionally aligned calibrated monitors, but it is incredibly helpful if all your devices are so darn close to start with. It is insane how close our 3 Retina screens match here at the fxguide tech compound, given they are three completely separate devices, normally aimed at very different markets. While one can tell a client to ignore what a Work in Progress (WIP) quicktime looks like on their iPad – they just don’t like having different looking images on every screen, and it makes our lives harder. This is more than hype, it comes from the new adoption of Rec 2020.
iMovie and Editing Pipeline production.
The footage shot on a consumer tablet is normally Rec 709, H264 encoded and thus the gamma curve is locked in, and various sharpening and other technical limitations are par for the course. That alone is not a deal killer, DLSRs such as the Canon 5D do not shoot RAW, and many a great scene has been shot with a DSLR in Video mode. Of course, a tablet has the disadvantage that the lens is a dot compared to an L series piece of glass. But even with the constraints of encoding and lens size, the iPhone and iPad produce exceptionally serviceable footage. It is perfect for what you might shoot as reference, and nothing is more helpful than accurate reference material.
With the iPhoneX and newer tablets such as the iPad pro, the footage has taken a leap. After decades of only encoding with a Rec 709 Gamut, the new devices are working in the wider 2020 Colour space. With our iPhone X in NYC last week, we were able to produce iPhone X high-dynamic-range (HDR) content, which is nothing short of insane for a camera phone device.
These new Mac and iOS devices support a wider-gamut SDR color space called Display P3. Display P3 uses the same color gamut as DCI P3, the standard for movie theater digital projectors, combined with a white point and gamma appropriate for typical viewing environments. Display P3 color gamut contains more colors than the Rec. 709 gamut, with notable improvements in the range of red and green areas of the color spectrum.
The Final Cut Pro color management system automatically converts video and stills to a common “working color space.” This color space, in which compositing and rendering of visual effects are performed, is really important. To use an analogy, you always should perform maths calculations at a higher level (bit depth) than your final to avoid what amounts to accumulated rounding errors. In earlier versions of Final Cut Pro, the working color space was a linearized version of the Rec. 709 color space, which worked well for most Rec. 709 color gamut outputs. With Final Cut Pro 10.3 and later, you can choose between the traditional Rec. 709 working space and a linearized version of the new, wider-gamut Rec. 2020 color space (ITU-R Recommendation BT.2020). Rec. 2020 provides a wider gamut than Display P3 and is designed to support any new displays that may be introduced in the future. Rec. 2020 is also the color gamut used in the Rec. 2100 standard for HDR video and in common HDR delivery profiles.
It’s easy to set a library’s working color space and a project’s output color space to HDR in FCP X. Because the working color space is determined by the library’s color-processing setting and affects all projects and media in the library, Apple suggest that it is a good idea to create a separate library for each job to prevent accidental color space crossover issues.
If you are delivering wide Gamut material it would be wise to use an external HDR display connected through a Thunderbolt output to grade and monitor HDR content. (see right). Until Apple releases a new stand alone monitor, the best Pro monitor is the iMac Pro and it is not a full wide monitor in the way say a Dolby Vision monitor level system would display. As a rule of thumb, the iMac pro gets you most of the way there, but it is safest to think of it as a P3 monitor with headroom.
Motion

As part of the FCP X package Apple offers Motion to create 2D and 3D titles in Final Cut Pro, apply and modify filters.
Motion now also features a robust 360 VR motion graphics workflow with real-time output to a VR headset, for the design of 360° titles, generators and filters that conform to the maths of spherical projection.
The nature of 360 degree video is that there is non-linear mapping between any Lat-Long representation and the spherical projection, such that say a blur at the equator would need to be a different kernel than the same blur setting applied at the top of frame. This may sound confusing but FCP just solves all these problems, in much the same way high end tools like NUKE does. It just does the maths correctly for you.
We tested with the Rylo 360 camera. The camera is new and not made by Apple. The Rylo’s two lenses each capture a 208-degree field of view, at a relatively bright f/2.8 aperture. They’re about the optical equivalent of a fish-eye lens you’d put on a DSLR, except Rylo’s software helps do away with many of distorted effects and stitching problems of home made rigs. Two times 208 degrees is a lot more than 365, which allows the Rylo to maintain sharpness even at the sides of the lens field of view.
360° titles can now easily be added in your FCP session, with automatic resizing as you move them within your VR scene on screen. Work done in 360° Motion can be saved as a template to access later in Final Cut Pro.
The Rylo has its own clever tools for HD export and auto tracking, but you can also just export the Lat-Long projection for editing in FCP X. One of the features I love in the new FCP 360 tools is a simple horizon adjustor.
Users can easily use visual controls to straighten horizons or remove camera rigs from equirectangular videos. From the first 360 job I ever did in Stitcher years ago, horizon line adjustment has always been an issue. This is now easy and interactive to adjust. Similarly for base or stand removal at the bottom of frame, the system has a clever clone replace that can hide small amounts of the frame that otherwise one tends to put a logo over or hide under a flat coloured disc.
The project can then be viewed in real time through a connected HTC VIVE headset with SteamVR, although we had some issues about working with 90fps footage compared to the more common 60fps common with 360 video.
Interestingly even the Motion 3D particles all fully conform to the correct 360 video non-linear mapping to animate and resize automatically in 360 mode.
Filters
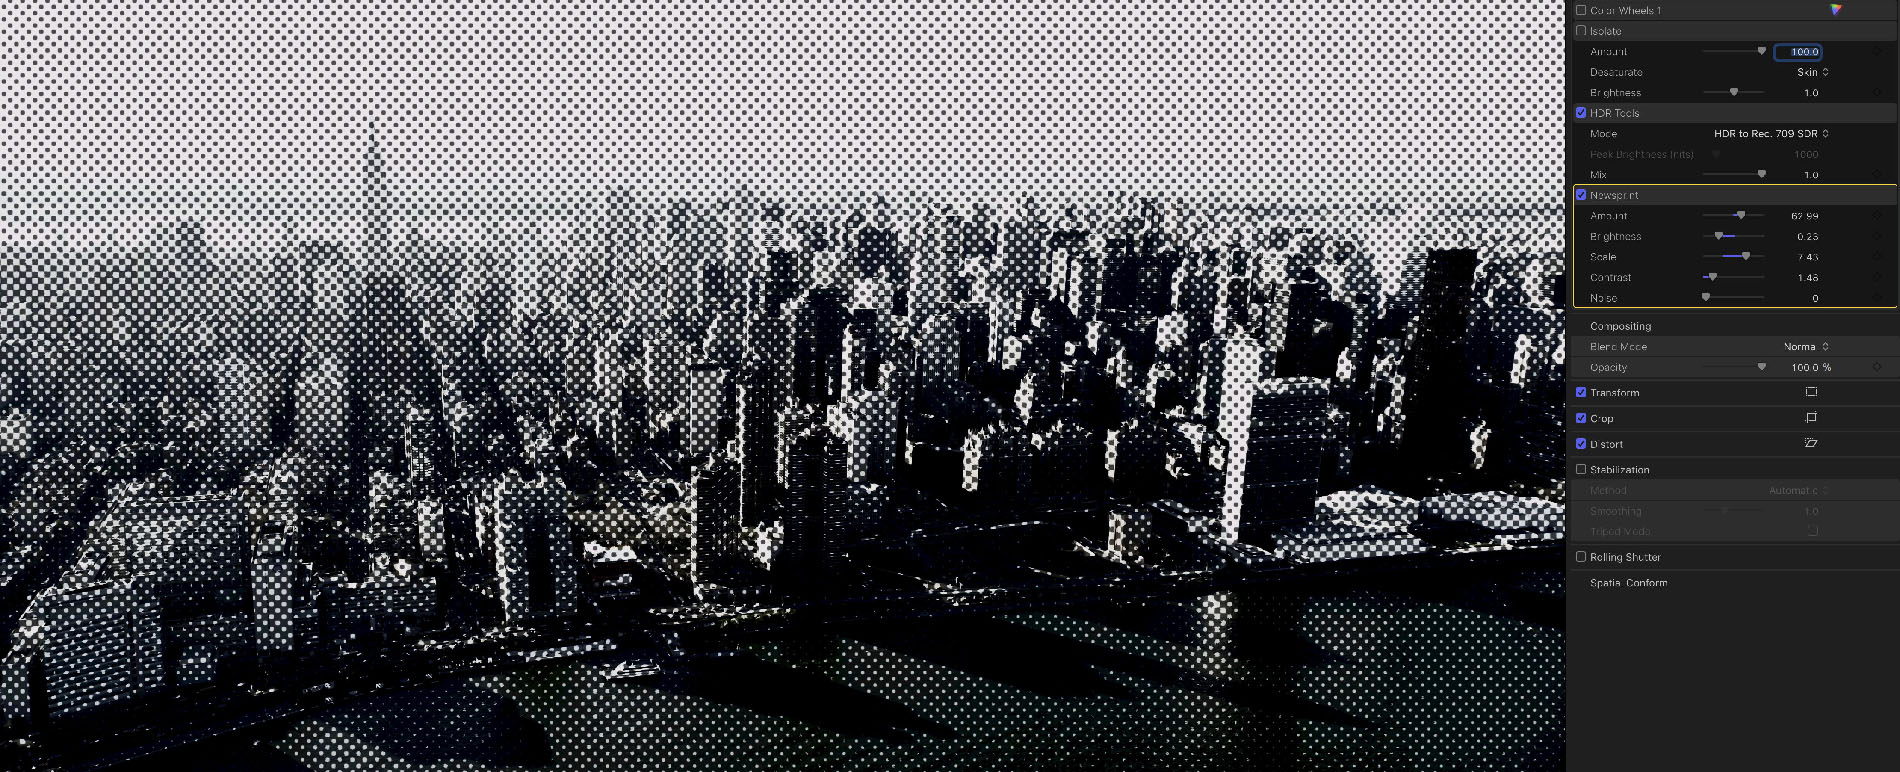
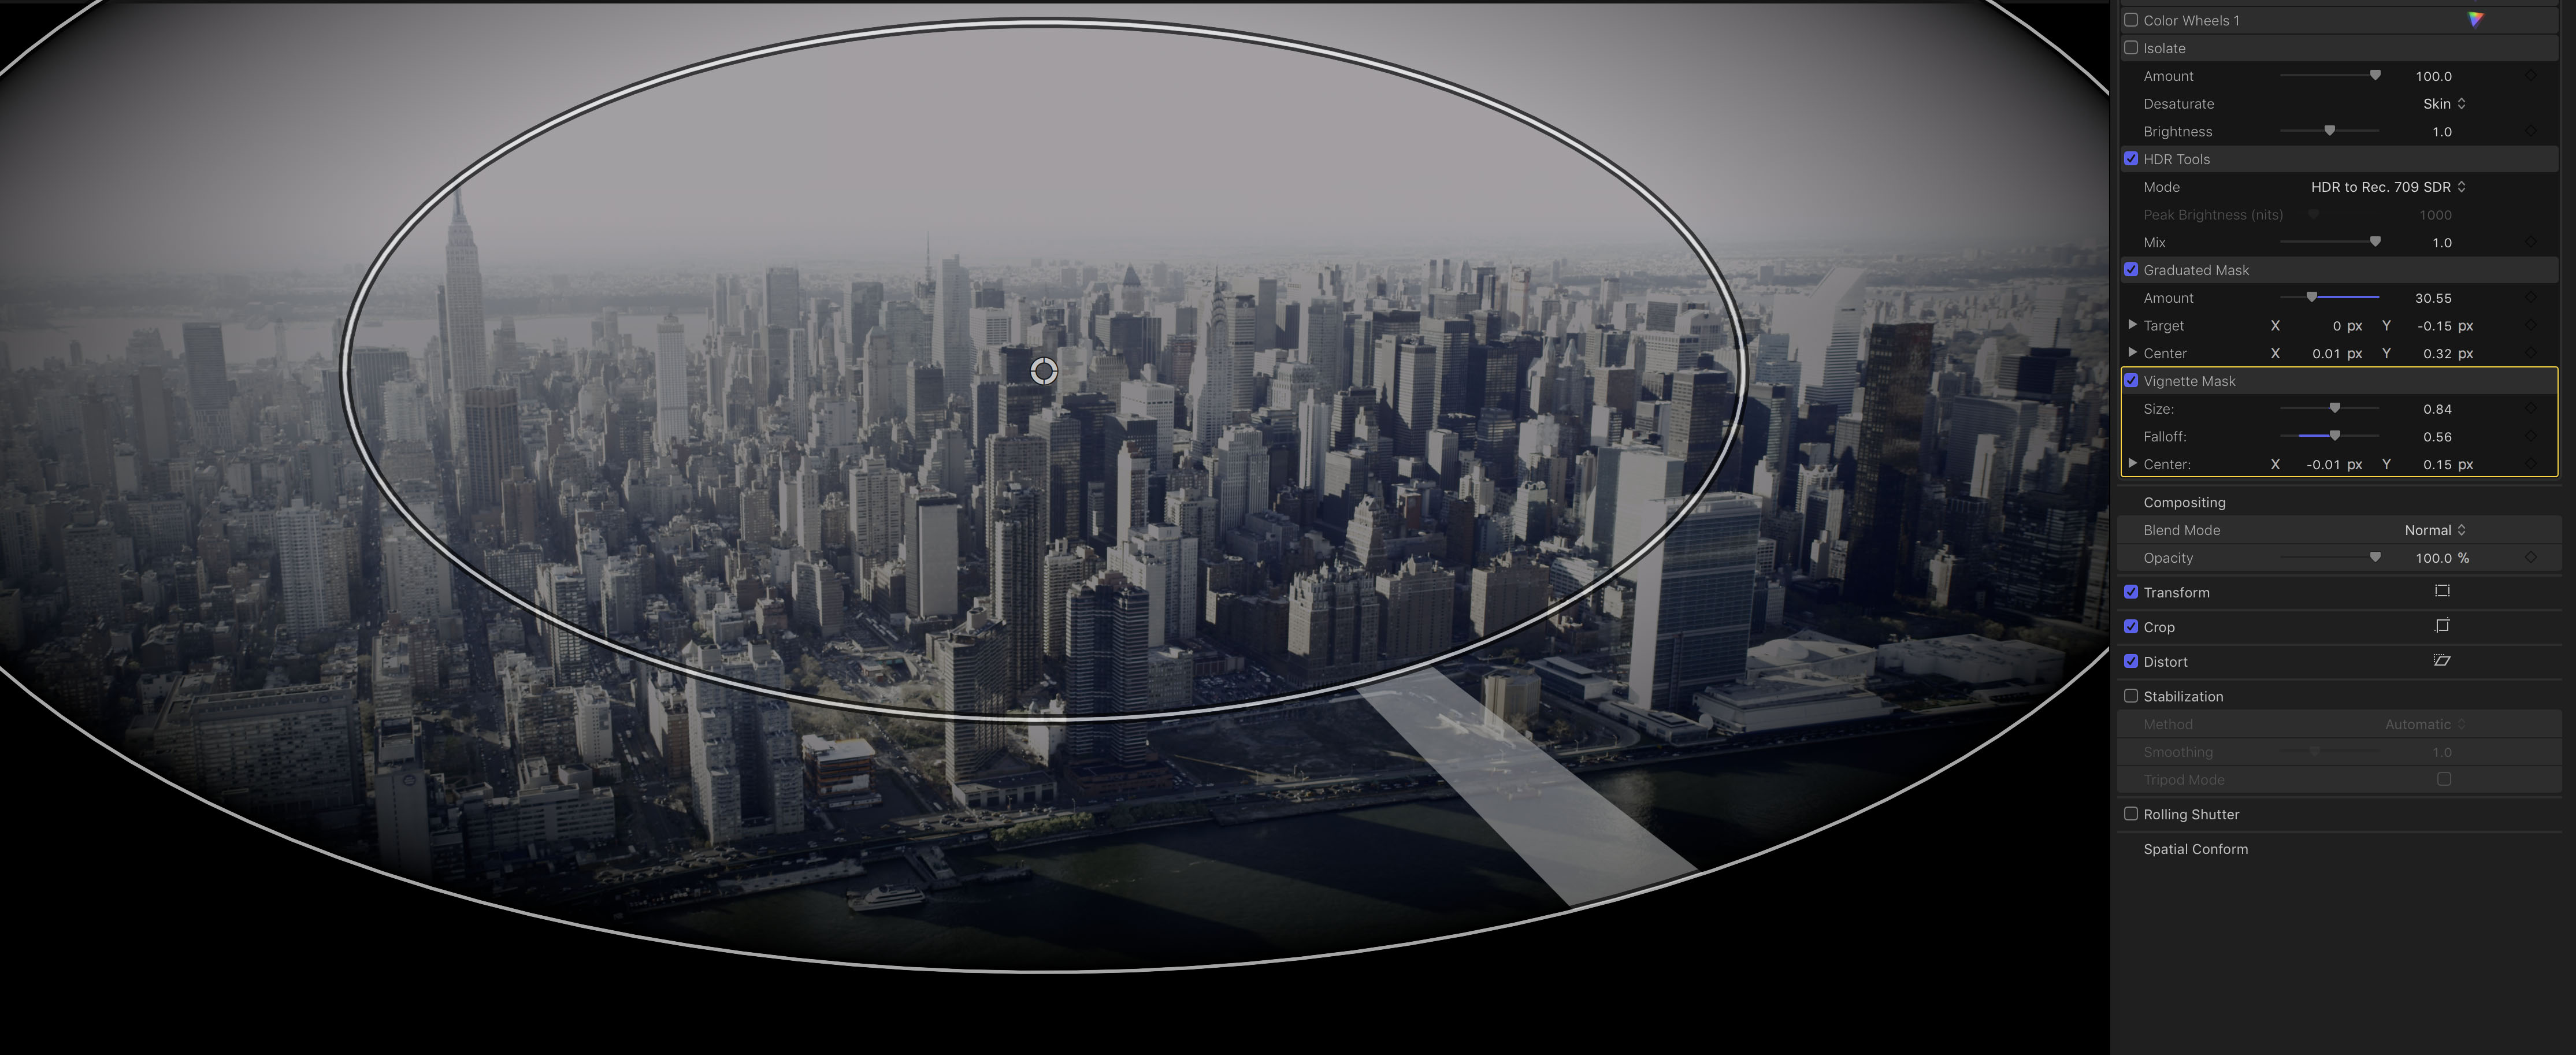
In addition to the other tools, image filters such as the newsprint duo-tone seen above, and other tools are standard. While some of these are fun, they are looks that will get used very rarely as they are so specific, but simple and perhaps less sexy tools tools such as the vignette I expect I will use extensively.
Summary.
If you walked away from FCP it might be time to return and check it out again. The product is now very respectable and powerful, and fully leverages the DNA of coming from the same company that not only builds the hardware you may edit on, but the whole eco-system you run your productions with. This newest version solves a host of colour grading issues and way exceeded our expectations.
Thank you for this excellent overview!
Wonderful read! Thank you.
So it’s good for all in one independent editorial? For feature film or high end commercial vfx work the features don’t seem to make it anymore useful that it previously was – except for editing from your reccie? Do Apple continue to completely ignore open interchange formats, I mean, how does it play with the other tools we’re using for review, post and DI? Where does it fit in-house.
This piece feels like a paid for-write up. FCPX has some excellent features but for a website that covers high end vfx almost exclusively, you spend remarkably little time talking about how the program finds a home in that ecosystem. I guess this just feels all positive with no look at, in particular, the negative impact that ecosystem also has. And I write this as someone with three vfx editors using FCPX for me right now (and frustrated at getting it to play nice with RV, for example).