Michael Ford is the VFX Supervisor at Sony Pictures Imageworks SPI on the latest animated feature: Smurfs: The Lost Village. Below is a exclusive look at how the world and environments of the Smurf’s was put together at Sony Pictures Animation and SPI.
The new film is based much more on the original source Smurfs comic book series created by the Belgian comics artist Peyo. This film is a reboot for Sony, it is unrelated to the previous live-action/animated films. The Lost Village is fully animated and was written by Stacey Harman and Pamela Ribon. It was directed by Kelly Asbury. The Lost Village team included production designer Noelle Triaureau and character designer Patrick Mate, (who grew up in France loving the Smurfs). The animation supervisor was Alan Hawkins.
The video below shows more of the Smurf world from Michael Ford:
In addition to the exclusive videos above we spoke to Michael Ford about the specifics of the rendering on the new film.
FXG: On the The Last Village, the renderer was your version of Arnold I assume?
MF: Yes. As with all of our projects we used our own special cut of Arnold.
FXG: Did you use Deep comp and detailed compositing or did you prefer to get it more as ‘one pass’ out of the renderer?
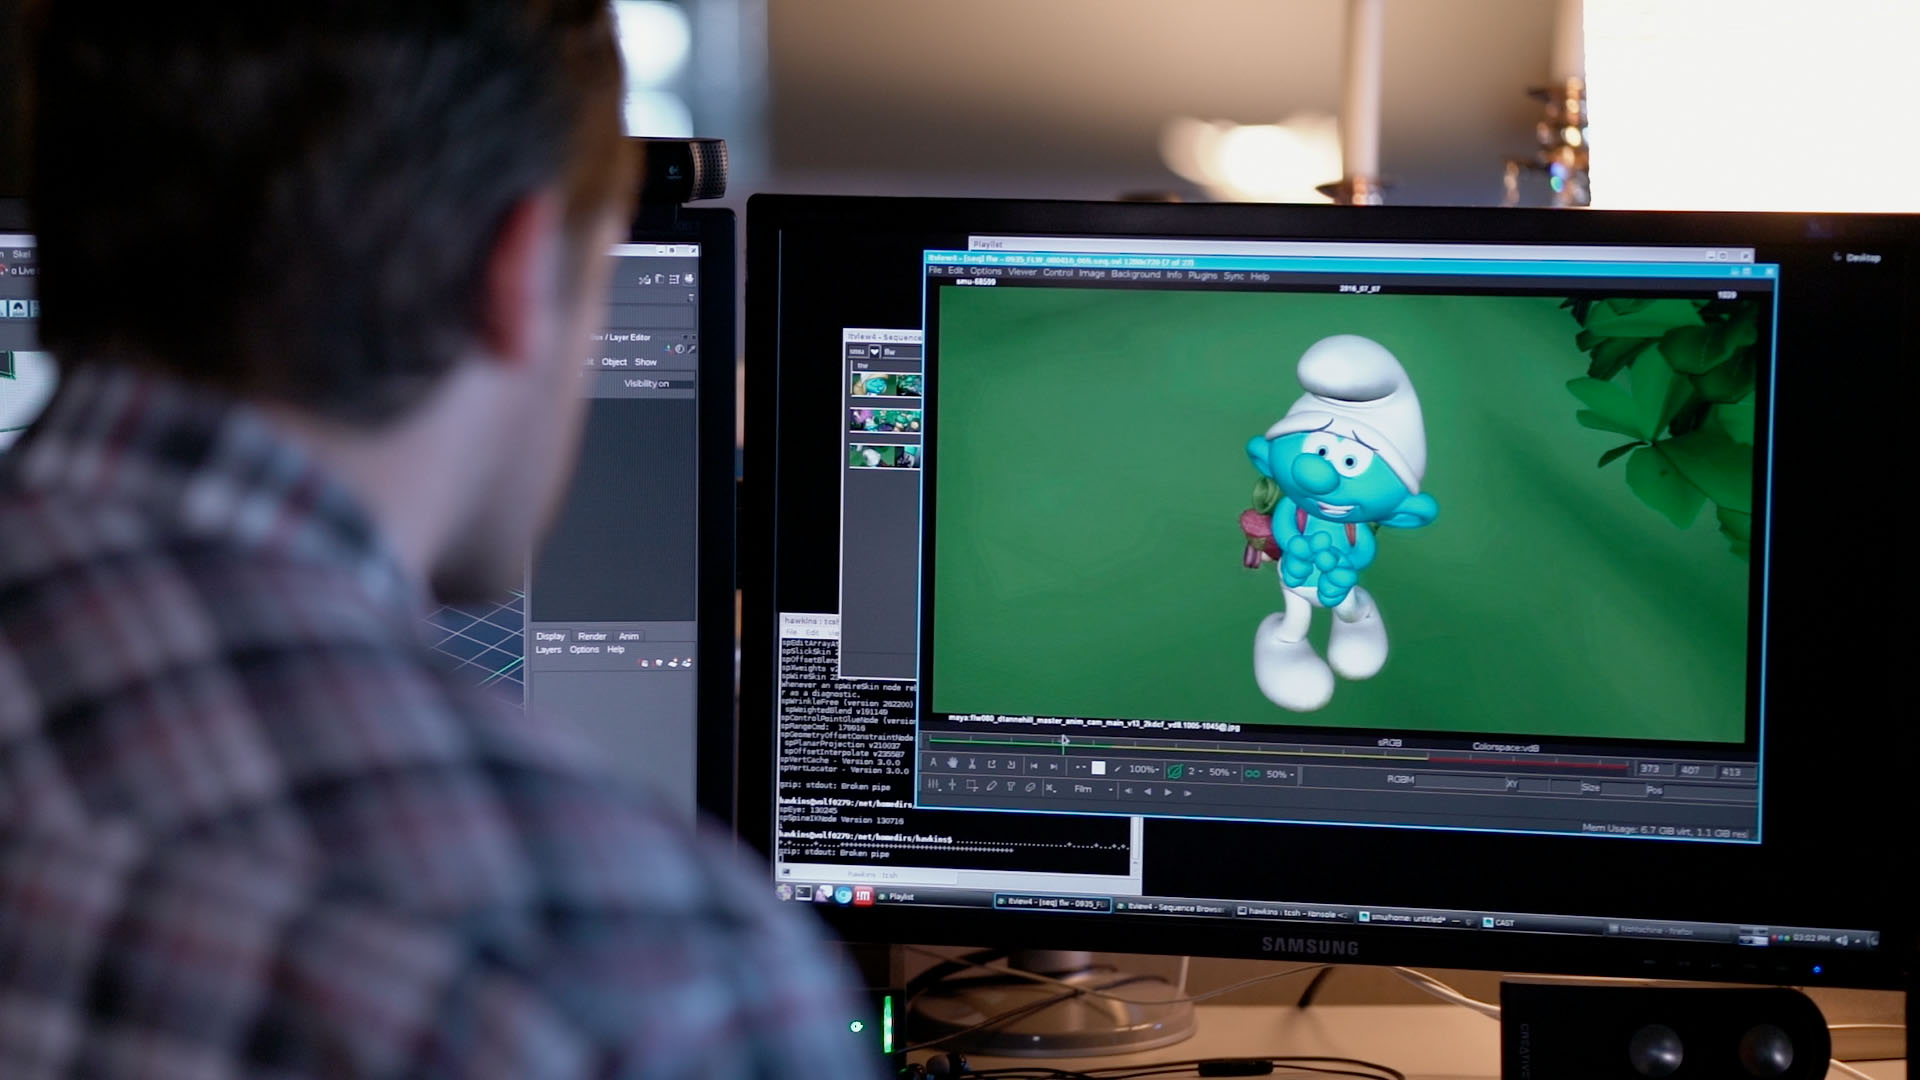
MF: With Arnold, the one pass approach is sometimes the best choice but we usually split out our FG elements from our BG elements to give us the most control of the elements. Mostly character and environment passes with AOVs to control color and specific lighting needs. It would really depend on the shot but in areas where we had large forest scenes we used deep compositing extensively. Kelly Asbury (The Director) and Noelle Triaureau (Production Designer) were very specific about the level of detail and areas of focus that we would have in the frame. We tried to avoid and mitigate situations where we would have incredibly busy, multi colored trees and plants. With Deep Comp we could really control the saturation, tone and hue of plants, leaves, etc. The lighters and compers got really good at making the characters stand out even with the most complex BGs.
FXG: Well following on from that, were all the depth cues, fog atmospherics etc part of the primary render or added?
MF: Most atmosphere passes were separate to allow for better control in comp. We would adjust how much atmosphere and fog to put in based on the tone and palette of the scene.We also added a ton of ground fog that was rendered into our scenes. There are shots of Smurfette when she is walking up to the wall guarding the forbidden forest that were hand placed by the lead lighter of that sequence. This really added to the danger and mystery of the area.
FXG: The “clumps” can you discuss them related to instancing please? I am imagine you did both clumps and instancing.
MF: The design of the clumps were a really clever idea by Noelle and her production design team. Peyo created a lot of depth in his comic books by layering shapes on top of one another to create a sense of depth. We did some initial rendering tests in the village that we ended up calling the billiard/pool table test because it looked so flat. As a team we ended up learning from that and created a ton of overlap by organizing mounds of vegetation and trees into what we ultimately called clumps. The production design team created amazing paintings of what they wanted and put them together first in 2D to make sure they would work. We took that as a reference point and matched the clumps in 3D. When we started putting them together in layout we were blown away at how well they worked to create really complex but structured compositions. The cameras basically lived at ground level during this movie and these organized and artfully designed elements made it much easier to create the right kind of stage we needed for our characters.In terms of instancing we couldn’t have made the movie without the power of Arnold, Katana’s and our Imageworks assembly/component system ability to instance elements. We instanced down to the leaf level on almost every plant we see in the forest. Each tree leaf is roughly 60-90 polys and we ended up having as many as 41K leaf instances on a single tree. In some cases we had 60+ trees in a shot so we had instance counts in the 10’s of millions. Add to that the ground cover and other plant instances (also in the millions) we had our hands full when it came to rendering and optimizing the scenes to be efficient.
FXG: The new shader technology for the luminescence – I assume this was part of OSL – but could you expand on this please in terms of getting this ‘non-standard rgb’ look? Were the glows added in comp or did you have this as part of the render?
MF: The bioluminescent shader tech was a combo of the shader team’s klf switching tool that knew if a plant was in light or darkness, extra lights and glows in comp. There were two klf standards: day and night. More hero plants close to camera contained real lights that were built into the standards that emitted light onto the environment and themselves. For more background plants, incandescent maps were painted on the leaves to created the illusion of light being emitted onto them from their glowing bulbs. Nothing slows a render down more than too many lights. Kelly and Noelle really wanted a soft but vibrant feel for the the glowing plants and we took a lot of care in light and comp making sure they didn’t dominate the frame when our characters needed to be the focus. Not having the lighters switch the plants textures by hand was the real time saver since we had shots that had full sunlight but in the shadowed areas we saw bioluminescent plants that needed to glow. This toolset allowed us to spend more time on the creative aspects of developing the look for the forbidden forest.
FXG: Was the lensing especially the DOF previewed in the animation stages or was it only realized in the final renders ? I am interested in how the blocking and animation played with the depth of field and lensing as it seems to affect some of the story telling as this this can so greatly affect the animation choices
MF: We knew from the beginning that we would use DOF as a major way of selling the scale of these characters. Dave Morehead, our head of layout did a ton of early camera tests to make sure we got the right types of lenses and camera positions to make a Smurf look like a Smurf. Smurfs tend to get off model really quick when the lenses got too wide or long so we found the balance and stuck with a lens kit that worked in most of shots in the film. We also used DOF in layout using Maya’s built in viewport 2.0 features when we really needed to sell scale to the director or he wanted very specific rack focusing that helped tell the story.
FXG: Did you aim to light with an animation version of IBL or was it much more detailed per character lighting? (Given the forest is such an exterior location).
MF: Because of the nature of how Arnold works, we always more or less use an animation version of IBL for cg features, in that we use either an HDRI image or a painted image for our skydomes that act as a light source. The image isn’t of a set, and is typically either a sky of some kind, or for optimization, a 360 render of an interior for GI bounce. On top of that, I’m always pushing the lighters to try and use as few lights as possible. In the case of this movie we had blue skin which makes for some really ugly out of the box renders with some of our sky domes. Using the same lighting setup we created for the environment ends up creating a lot of odd colors for their skin so we split out more neutral lights for the characters and created “specials” for cases where we needed to pull the characters off busy backgrounds.
FXG: Is the rigs for the Smurf’s character animation similar to the previous films – or have the character rigs expanded?
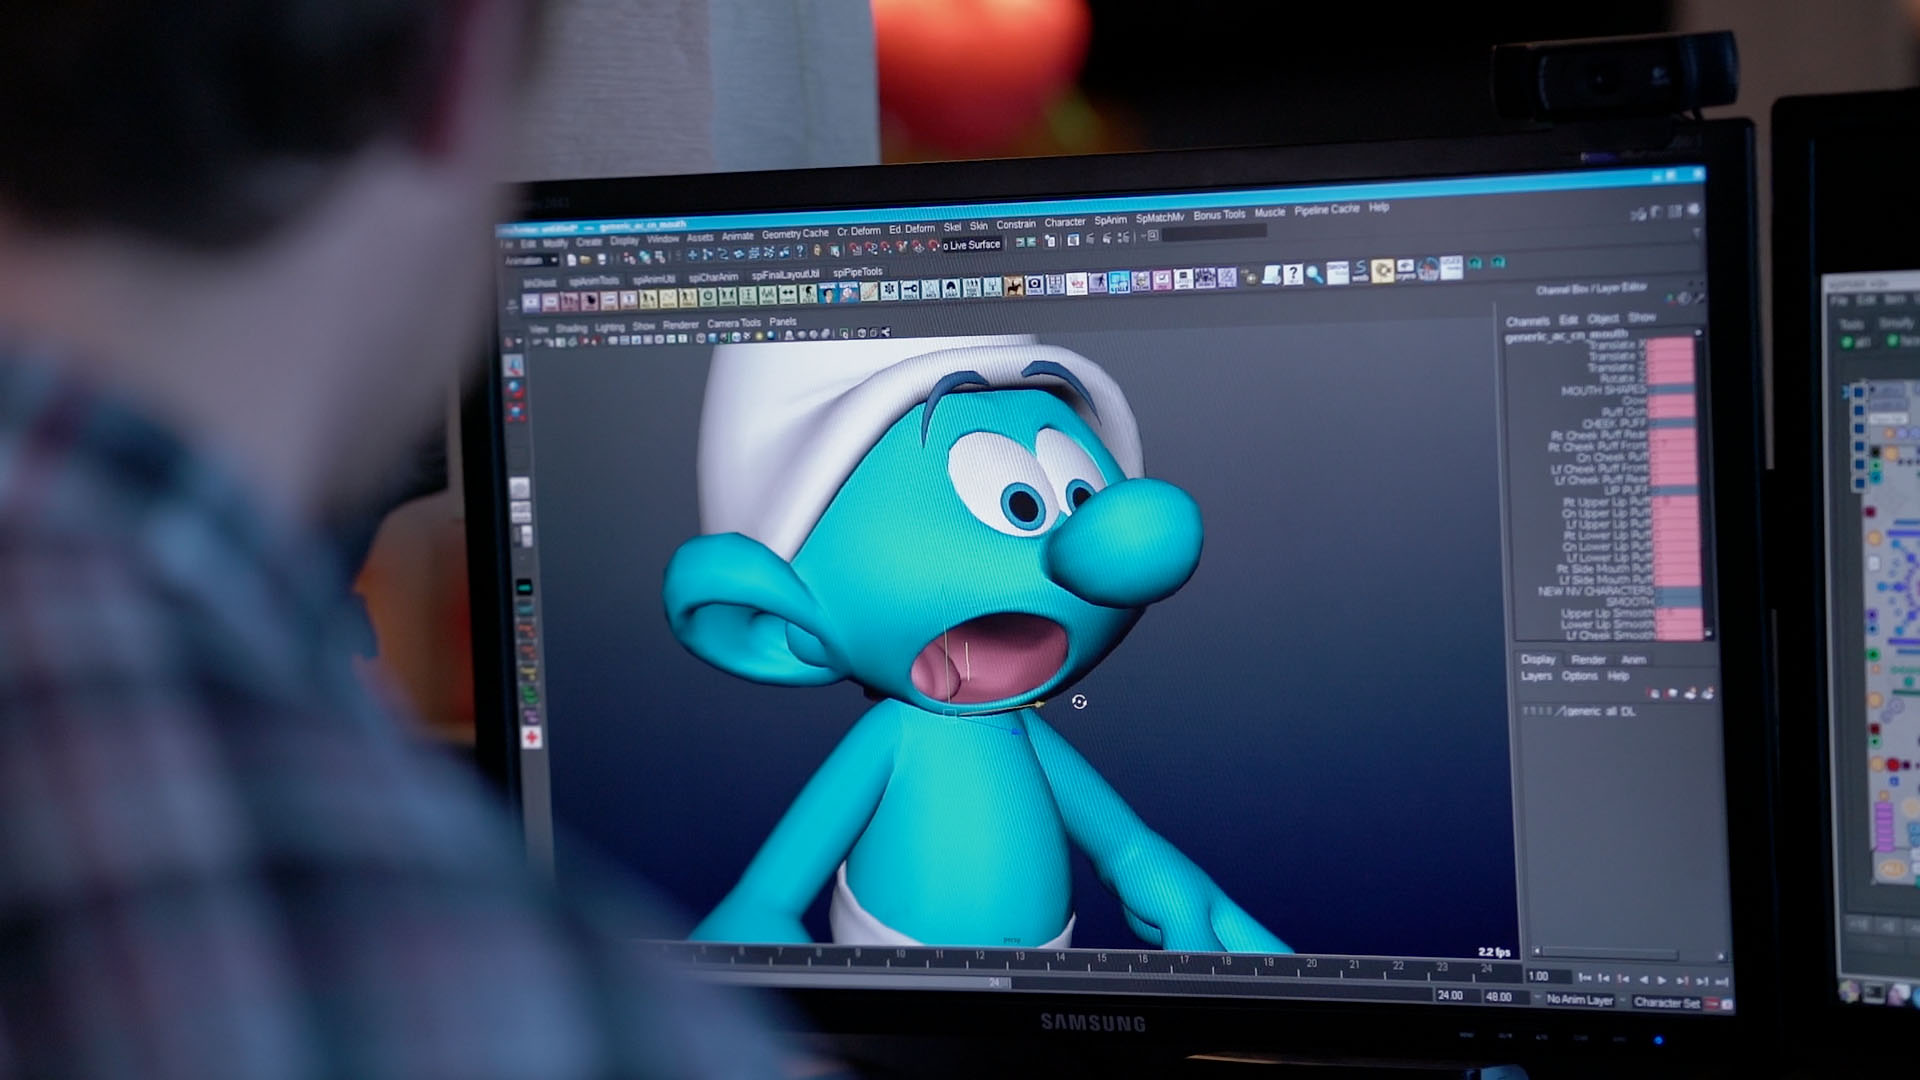
MF: We didn’t end up using any elements from the previous two films based on the fact we were making an animated film that was adhering to a new style based on Peyo’s comics. Most significantly we updated the Smurf models and rigs to be more in line with Peyo’s original Smurf design. This included putting the Smurf eyes together, which involved some rigging gymnastics to work with our existing facial rigging system. When Alan Hawkins our Animation Supervisor came on the movie he really pushed the team to make sure we accommodated the eyes together as a design element. Couple the eyes with eyebrows that can pull off the head and mouths that needed to operate on the sides of the face our rigging department, led by Brian Cohen and Marc Souliere had their work cut out for them.
FXG: Given that not only the Smurfs themselves but plants at ‘smurf’ scale exhibit such strong and important SSS – was this extended at all in this pipeline. The flowers and plants seem to have such really rich SSS.
MF: Pretty much every “organic” element in the movie has some level of SSS. Their skin took a long time to get right as we needed to get the “cartoony but not fully photoreal” look that the production design team had painted. Smurfs are pretty small so even their cloth had to feel like it was tailored and fit to their small size. Our Lookdev supervisor Mike Lasker worked a lot with texture and lookdev teams to perfect that. We pushed the sss radius and values beyond what we typically do to enhance the small scale aspect of the environment. This was especially done on the plants, since most of the leaves were modeled thicker than usual. We also wanted to make characters such as the dragonflies have a gummy feel so larger areas of sss were required.
FXG: Beautiful renderings btw – really charming !
MF: Thank you. I have great respect and admiration for you and your team at FX Guide. Coming from you it means a lot and I will pass that onto the team.
Smurfs: The Lost Village is in cinemas now.
