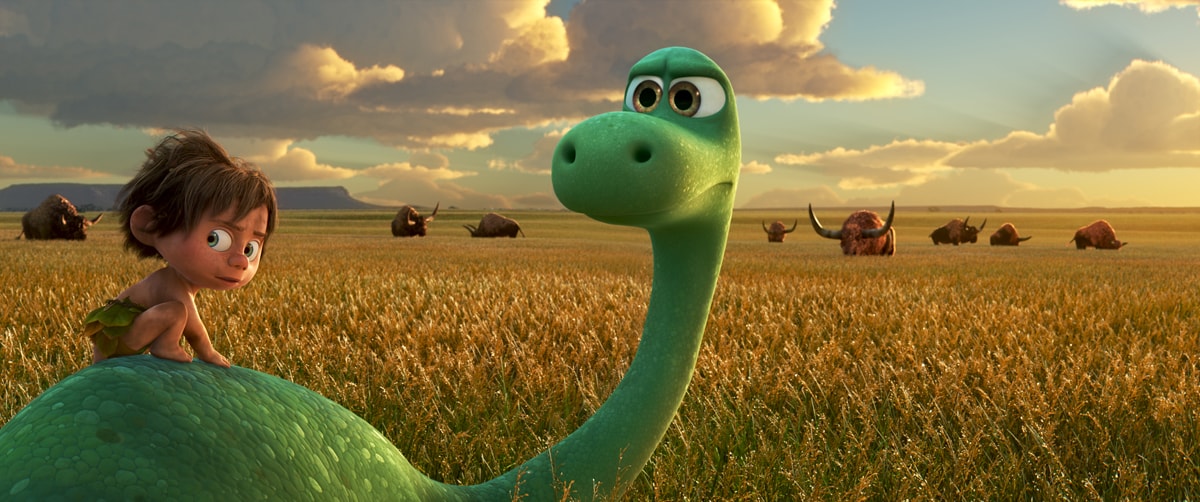
You may have noticed something stunningly different in Pixar’s newest film, The Good Dinosaur. Its environments exist almost as a character in itself – something the studio deliberately set out to do. We take an exclusive behind the scenes look at how Pixar made that possible in this video made with our friends at WIRED, and we talk to supervising technical director Sanjay Bakshi about the work too.
Sanjay Bakshi on what a supervising technical director does: It’s basically supervising the technical staff who work on the film. The way I think about it is that the story people and the artists, they all work on a story and have some ideas visually what they want to do, but they don’t necessarily know how to make the film. I’m kind of the bridge between the technical world and the producer and director. They have questions for me, like is this hard? Is this easier? And I take that language and hopefully know about the story to guide them to be able to achieve what they’re trying to build.
The Good Dinosaur’s environments: Everything on the screen is 3D geometry that’s rendered. There’s no matte painting or set extensions or any kind of touch up post. It was a huge rendering challenge. The pipeline was basically to download the topographic information from the United States Geological Survey for the area we wanted to shoot in. Then that would provide this low frequency information about what the terrain was.
Adding procedural geo: We wrote many different kind of procedurals, that would add the detail to the topography. We would do displacement detail just to add high frequency information to the topography, and we had a procedural rock generator. We downloaded the textures as well from satellite imagery of the terrain and use that to inform the procedurals – say where grass would grow, where water was – just simple image processing of that satellite imagery to give us an estimate. We had a huge amount of RenderMan procedurals to populate the backgrounds. Then we could also paint on them when the computer didn’t make a good decision. So there was the satellite imagery, the painting on top but also the algorithms to say, this is a sheer cliff wall – don’t grow trees there if the angle of the terrain is above a certain threshold.
 Rendering in RenderMan: It was RenderMan 19, but not RIS, so we weren’t using path tracing, but it does have instancing which we leveraged. We could describe a tree and then RenderMan would stamp out the tree many many times without consuming additional memory. We also spent tons of time on the LODs – levels of detail – for the procedurals, so we were really rendering the coarsest representation possible, and that it was transitioned really nicely. When the grass is growing right in front of you, it was really individual RenderMan curves but as it goes into the distance, the curves representation changes so that it’s much coarser and thicker and fewer, but you eyes don’t notice because it’s much further away. The average render times were 48h / frame. The media was 37h / frame. We had some expensive outliers. The farm is about 30k core.
Pixar tech lead Mathhew Kuruc on instancing in RenderMan
Effective use of instancing with vegetation within the RenderMan REYES architecture was definitely a challenge we had to sort out. RenderMan is great at determining how much geometric detail you need for shading a particular model. Objects that are smaller on screen will get less points to shade. We augment this with algorithms like stochastic simplification which actually throws out entire needles and leaves before it even reaches the renderer to further reduce the number of points the renderer needs to shade. This means that each tree is optimal for shading given its size in screen space, but also completely unique. As ray traced global illumination forces us to keep entire forests of trees in memory, letting each tree be unique for optimal shading is no longer practical. RenderMan instancing is a feature which lets us reuse the same tree repeatedly within a forest. We now had to manage the shading cost of instancing vegetation, as it would be impractical to shade a tree in the background with the same amount of detail as the foreground. To solve this, we used our stochastic simplification algorithm to determine the optimum shading detail for each dressed tree and then bucket the results into several discrete levels. This allowed us to effectively balance the memory cost of keeping an entire forrest in memory with the time cost of shading that forest.
River sims: We used Houdini and the FLIP solver to do these. Parallelization at every stage beyond this initial sim was key to producing detail in the surface, foam and white water passes. Wherever possible we broke large post-processing and simulation problems into smaller clusters which could be computer independently to take maximum advantage of our renderfarm.
In an effort to get as much on screen as possible, we took the unique approach of creating modular river sections that we could re-use in different sequences in the film. These modular sections were treated like set assets designed to hold up across an entire sequence of shots. Creating detailed foam and white water independent of a shot camera required rasterizing at a 1 centimeter scale across the one quarter to one half mile lengths of our river section.
Clouds and skies: We built over 180 fully volumetric skies to capture the dynamic weather needed to support the goal of making the environments feel like living, breathing characters. We used the The National Oceanic and Atmospheric Administration satellite cloud maps to custom RenderMan DSO’s with an embedded path tracer, optimized to efficiently compute multiple scatter for a cloud volume
Vegetation: We built a hierarchical rig into every piece of vegetation and pre-baked varying degrees of wind motion into every weed, shrub and tree. This library of vegetation motion contained 3500 simulations totaling over 20 terabytes of data.
A hierarchical rig allowed the trunk to move the branches which could move the leaves. When the sequence was kicked off we would choose the amount of wind motion that best suited the scene. The pre-built rig also allowed animation to interact with the vegetation without having to go back into the pipeline.
Presto for ‘sketching’ animation: We used what’s called Sketch to Pose in Presto, and lets you sketch a curve and that’s a target for the rig underneath. There’s a screen space way to do it or projecting it into 3D in the plane of the neck for example. There’s a few ways of translating the drawing into 3D space. A lot of times we are animating in screen space. If you do move the camera around, some of our poses won’t look great. So a lot of times, that’s the polish approach – the silhouette requirements where sketching is really handy.
We also used these new tools as a way of actually changing the underlying mesh itself, not the rig. That second part is used by simulation TDs for the cloth as well. Then there’s another tool in that category which is the volume skin simulation we did for the dinosaurs. They’re so huge, the scale of them is so big, that the secondary motion was provided by a simulator. The animator would animate a T-rex walking and the motion of the leg hitting the ground and compressing its knee. Then the secondary motion would happen in a simulation pass where we’re simulating the skin as it slides over the muscles of the T-rex.
Birds in Presto: We used Presto to create the input motion clips that were consumed by Houdini, which was used to generate the procedural motion and clip sequencing. That was exported to Presto for cleanup (additional hero work, killing egregious intersections, etc).